# Plytix post-request script
## Introduction
Having installed the Plytix connector, some setup is required before it can be used. You must:
* [Stage 1: Create a post-request script](#stage-1-creating-a-post-request-script)
* [Stage 2: Apply the post-request script to your Plytix connector](#stage-2-applying-the-post-request-script)
Once this setup is complete, you can [add instances](../../working-with-instances/adding-an-instance) for use in [process flows](../../../process-flows/building-process-flows).
## Stage 1: Creating a post-request script
A post-request script is required to generate an authentication token from the given instance credentials. Follow the steps below to create this script.
**Step 1**\
From the Patchworks dashboard, select **scripts** from the left-hand navigation menu.
**Step 2**\
Click the **create script** button:
**Step 3**\
In the **name** field, type the following:
```
Plytix Post-Request Script
```
**Step 4**\
In the **description** field, type the following:
```
Plytix authorisation post-request script (retrieve token)
```
**Step 5**\
Click in the **language** field and select **PHP 8.1**:
**Step 6**\
Click the **create** button.
**Step 7**\
The script is created and opened in edit mode - select and remove any placeholder code:
**Step 8**\
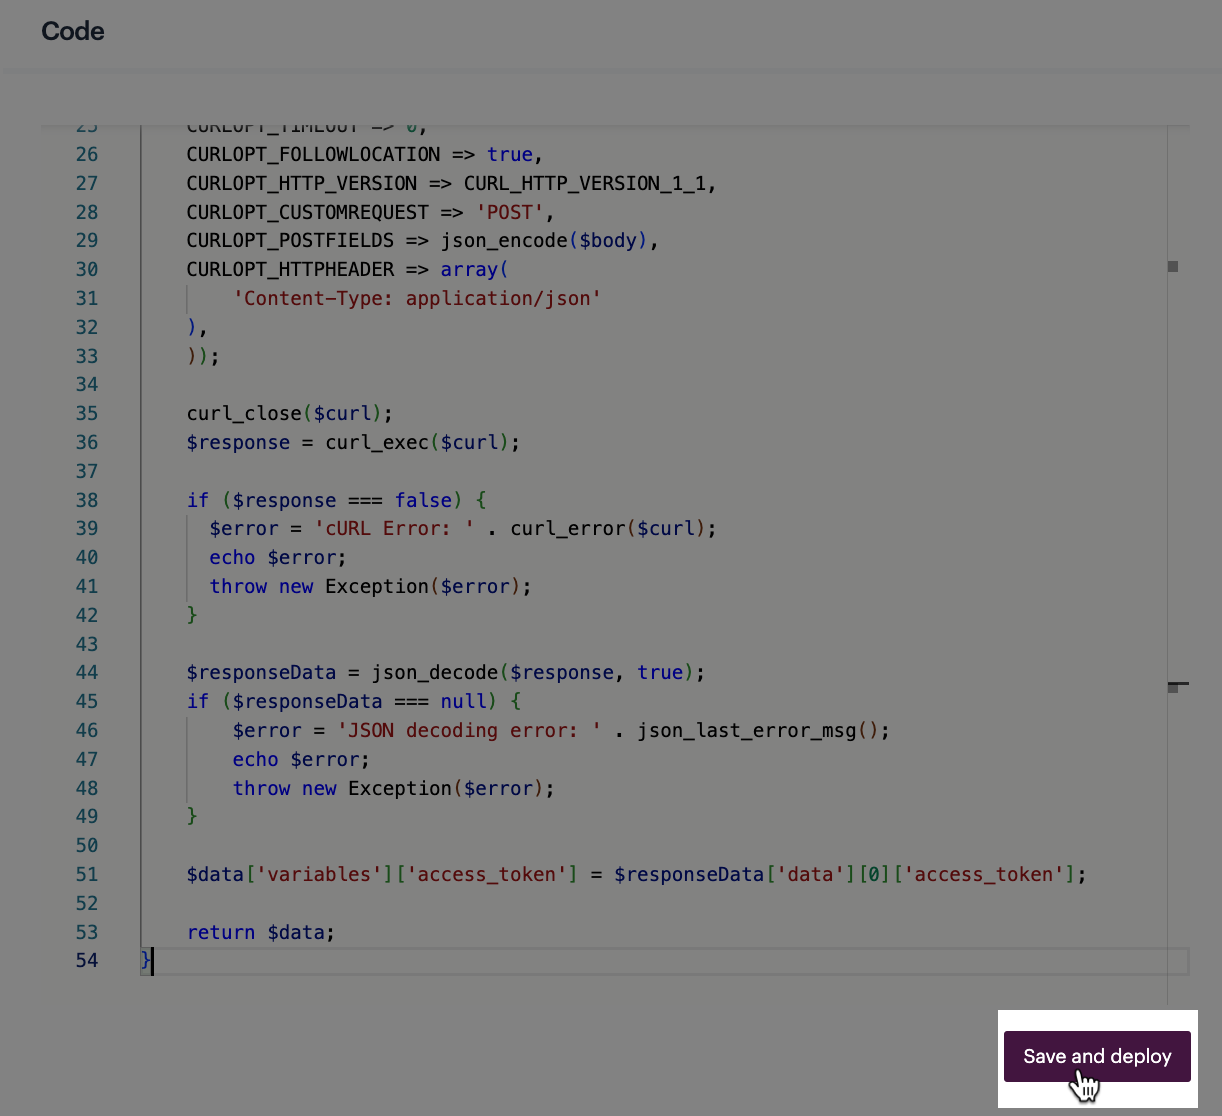
Paste in the code below.
Post-request script code
{% code lineNumbers="true" %}
```php
(string|null) the payload as a string|null
* 'variables' => (array[string]string) any variables as key/value
* 'meta' => (array[string]string) any meta as key/value
* ]
*/
function handle($data)
{
$curl = curl_init();
$body = [
'api_key' => $data['variables']['api_key'],
'api_password' => $data['variables']['api_password'],
];
curl_setopt_array($curl, array(
CURLOPT_URL => 'https://auth.plytix.com/auth/api/get-token',
CURLOPT_RETURNTRANSFER => true,
CURLOPT_ENCODING => '',
CURLOPT_MAXREDIRS => 10,
CURLOPT_TIMEOUT => 0,
CURLOPT_FOLLOWLOCATION => true,
CURLOPT_HTTP_VERSION => CURL_HTTP_VERSION_1_1,
CURLOPT_CUSTOMREQUEST => 'POST',
CURLOPT_POSTFIELDS => json_encode($body),
CURLOPT_HTTPHEADER => array(
'Content-Type: application/json'
),
));
curl_close($curl);
$response = curl_exec($curl);
if ($response === false) {
$error = 'cURL Error: ' . curl_error($curl);
echo $error;
throw new Exception($error);
}
$responseData = json_decode($response, true);
if ($responseData === null) {
$error = 'JSON decoding error: ' . json_last_error_msg();
echo $error;
throw new Exception($error);
}
$data['variables']['access_token'] = $responseData['data'][0]['access_token'];
return $data;
}
```
{% endcode %}
**Step 9**\
Click the **save and deploy** button:
## Stage 2: Applying the post-request script
**Step 1**\
From the Patchworks dashboard, select **connectors and instances** from the left-hand navigation menu to access your installed connectors.
**Step 2**\
Find your Plytix connector and click the **settings** icon.
**Step 3**\
Click the **authentication** option:
**Step 4**\
Select the **API key** authentication method:
**Step 5**\
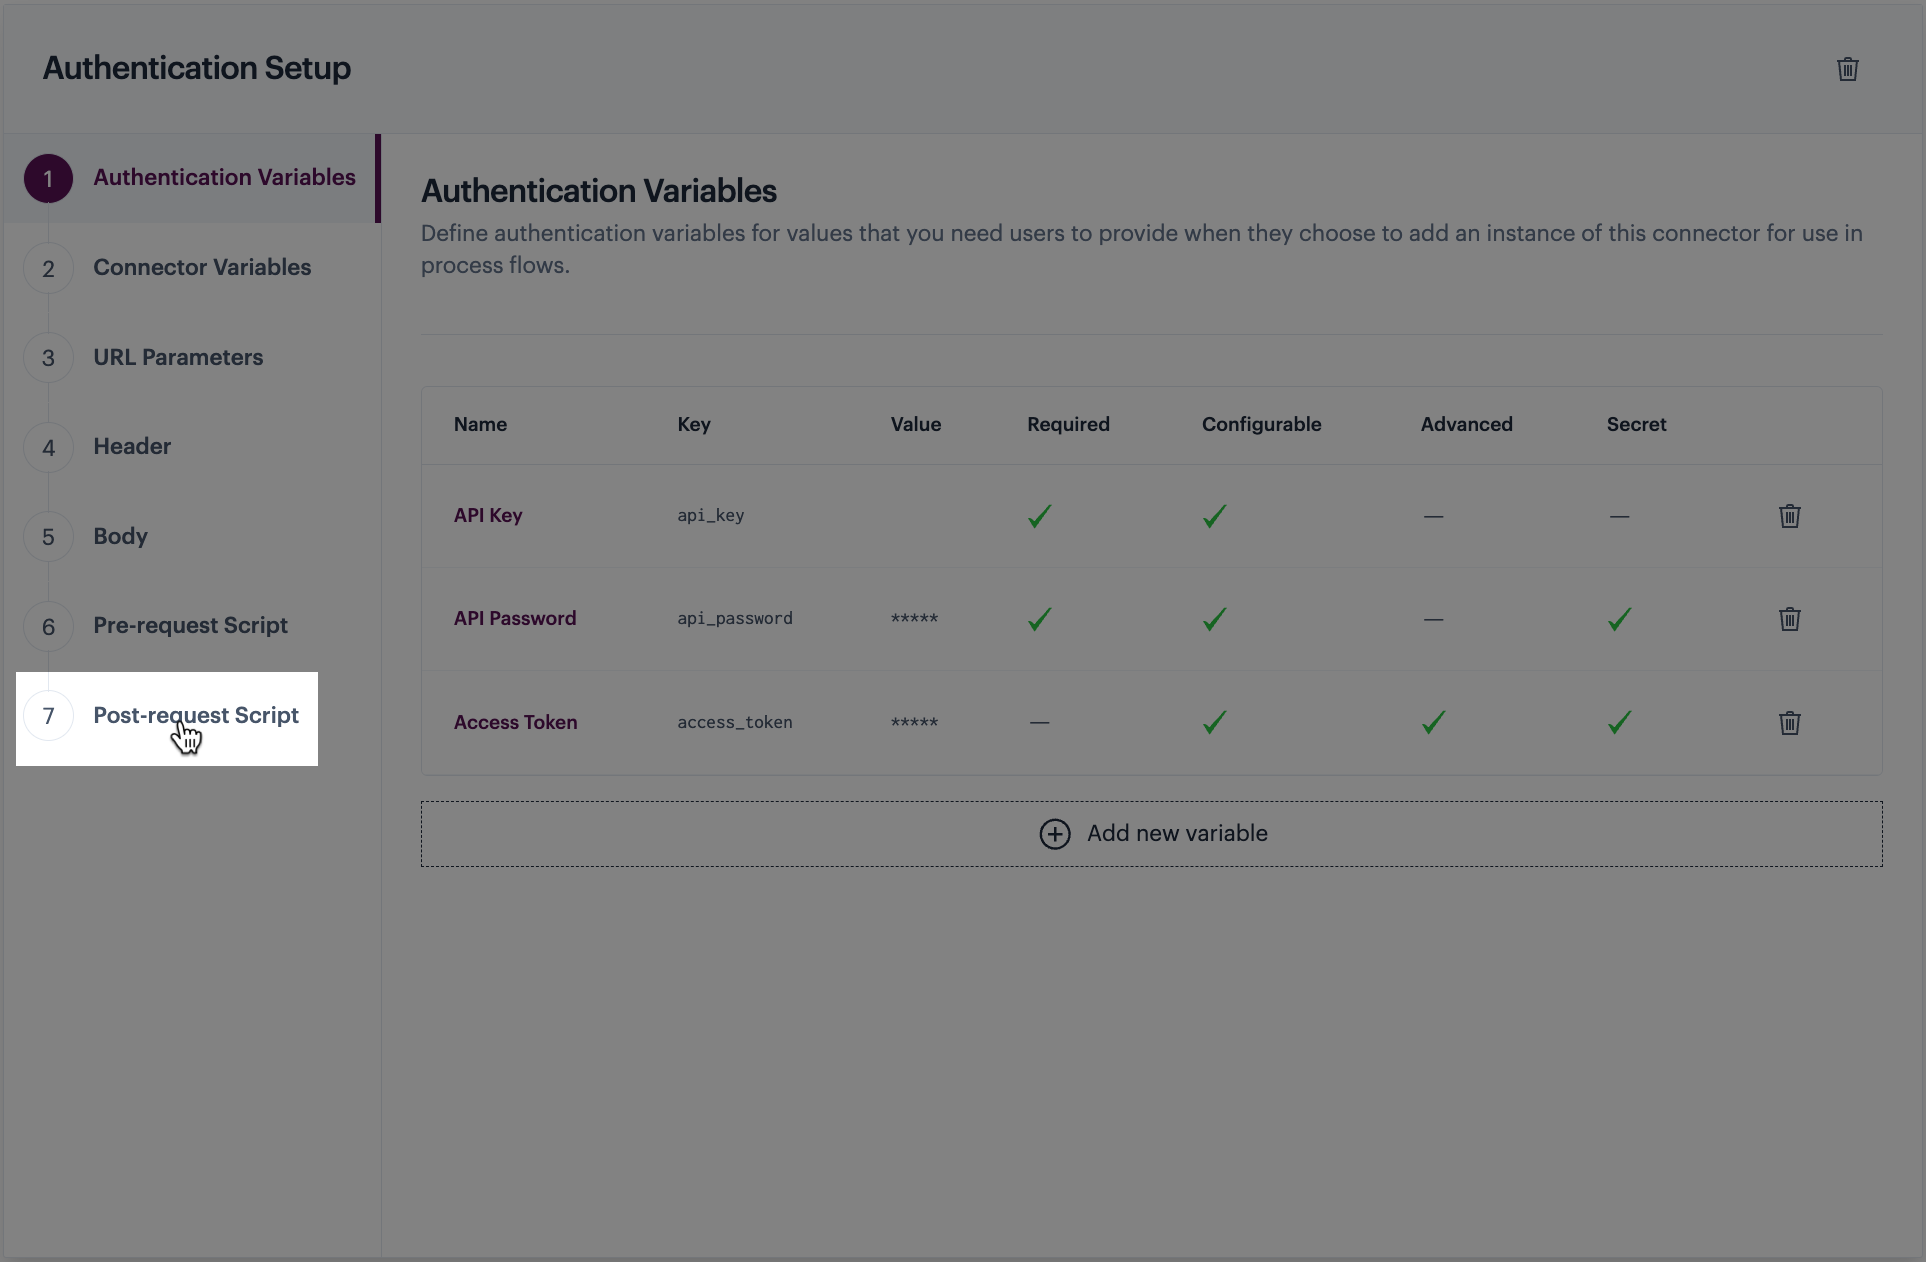
In the lower panel, select the **post-request script** tab:
**Step 6**\
Click in the **select script** field and select your **Plytix Post-Request Script**:
**Step 7**\
Select the latest version:
**Step 8**\
Save changes:
**Step 9**\
You can now [add instances ](../../working-with-instances/adding-an-instance)of this connector for use in [process flows](../../../process-flows/building-process-flows).


 Post-request script code