Define field mappings
Introduction
This page is part 4 of the instruction set for adding a Patchworks service for an Inbound API connector:
4
Define field mappings
About field mappings for API connector custom entities
Mappings are at the heart of Patchworks.
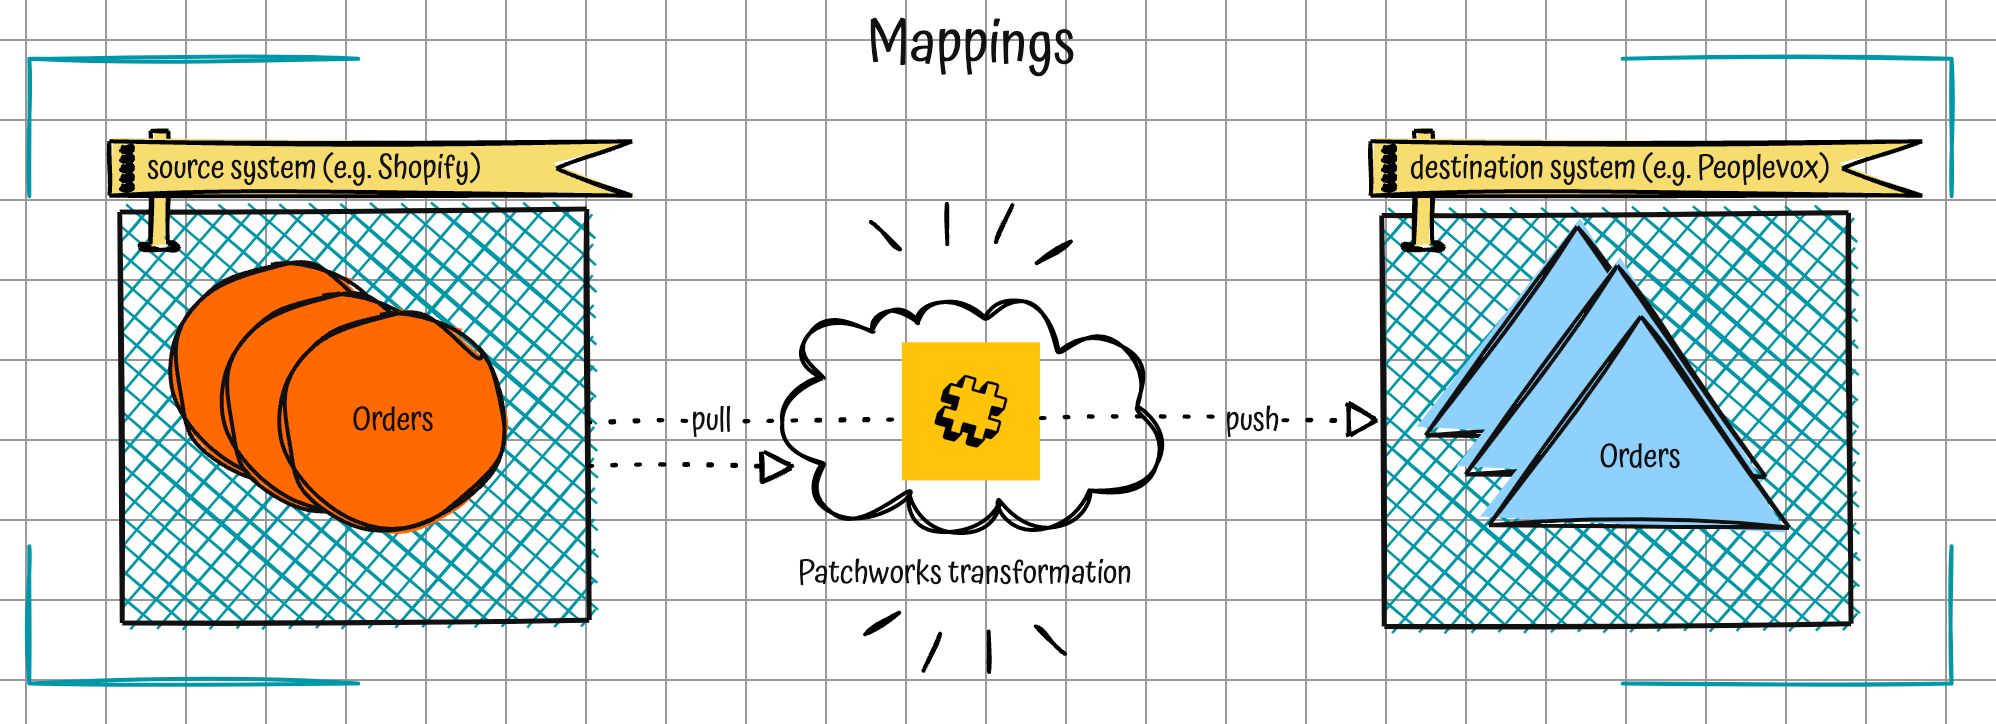
When we pull data from one system and push it into another, it’s unlikely that the two will have a like-for-like data structure. By creating mappings between source and destination data fields, the Patchworks engine knows how to transform incoming data as needed to update the destination system.
The illustration below helps to visualise this:

With its standard connectors, Patchworks knows what mappings are likely to be between two given systems - default mappings are provided and can be tweaked if needed.
However, the Inbound API connector is unique for every client - Patchworks has no prior knowledge about how fields in a custom payload correlate to fields in other systems. As such, you must define the required mappings.
Prerequisites
The steps detailed on this page assume that you are following the 'new service' flow and have just saved service trigger schedule settings so the field mappings page is displayed:

If you have exited the 'new service' flow and need to get back to this point, you can access all service configuration options via the canvas tab:

The steps
Follow the steps below to define field mappings between the custom entity defined for your Inbound API connector, and the chosen destination connector.
Step 1 Click the add new row button:

... a new row is created, with fields to complete for source and destination entities - for example:

Step 2 Use the source field dropdown list to select a field from your Inbound API connector custom payload - for example:

…if required, set a preferred display name - for example:

Step 3 Use the destination field dropdown list to choose a field from your chosen destination connector to be mapped to the selected source field - if required, set a preferred display name.
Step 4 Click the done button associated with this row, to confirm changes:

Step 5 Repeat steps 1- 4 for all required field mappings.
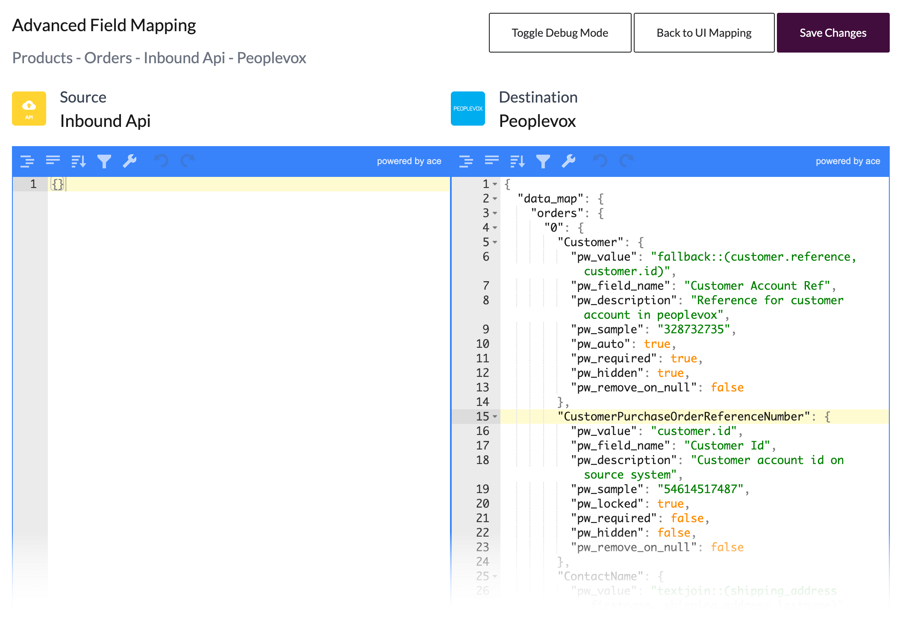
Alternatively, you can use the advanced editor to add a mapping file in JSON format - for example:

Step 6 Click the next button to access final service settings and activate the service - please see the activate the service page for guidance.
Last updated