> For the complete documentation index, see [llms.txt](https://doc.wearepatchworks.com/product-documentation/llms.txt). Markdown versions of documentation pages are available by appending `.md` to page URLs; this page is available as [Markdown](https://doc.wearepatchworks.com/product-documentation/patchworks-services/working-with-services/field-mappings-and-transformations-services/field-transformations-services/using-a-custom-script-in-field-transformations-services.md).
# Using a custom script in field transformations (services)
## Introduction
This page explains how to apply a custom script as a transform function for service field mappings.
{% hint style="danger" %}
If this is the first time you are using this script, you are strongly advised to work with a test service and ensure everything syncs as expected before applying to live services.
In Patchworks, a test service can be created by defining **test** (rather than **live**) source and destination connectors which point to sandbox URLs for the associated systems.
{% endhint %}
## The steps
**Step 1**\
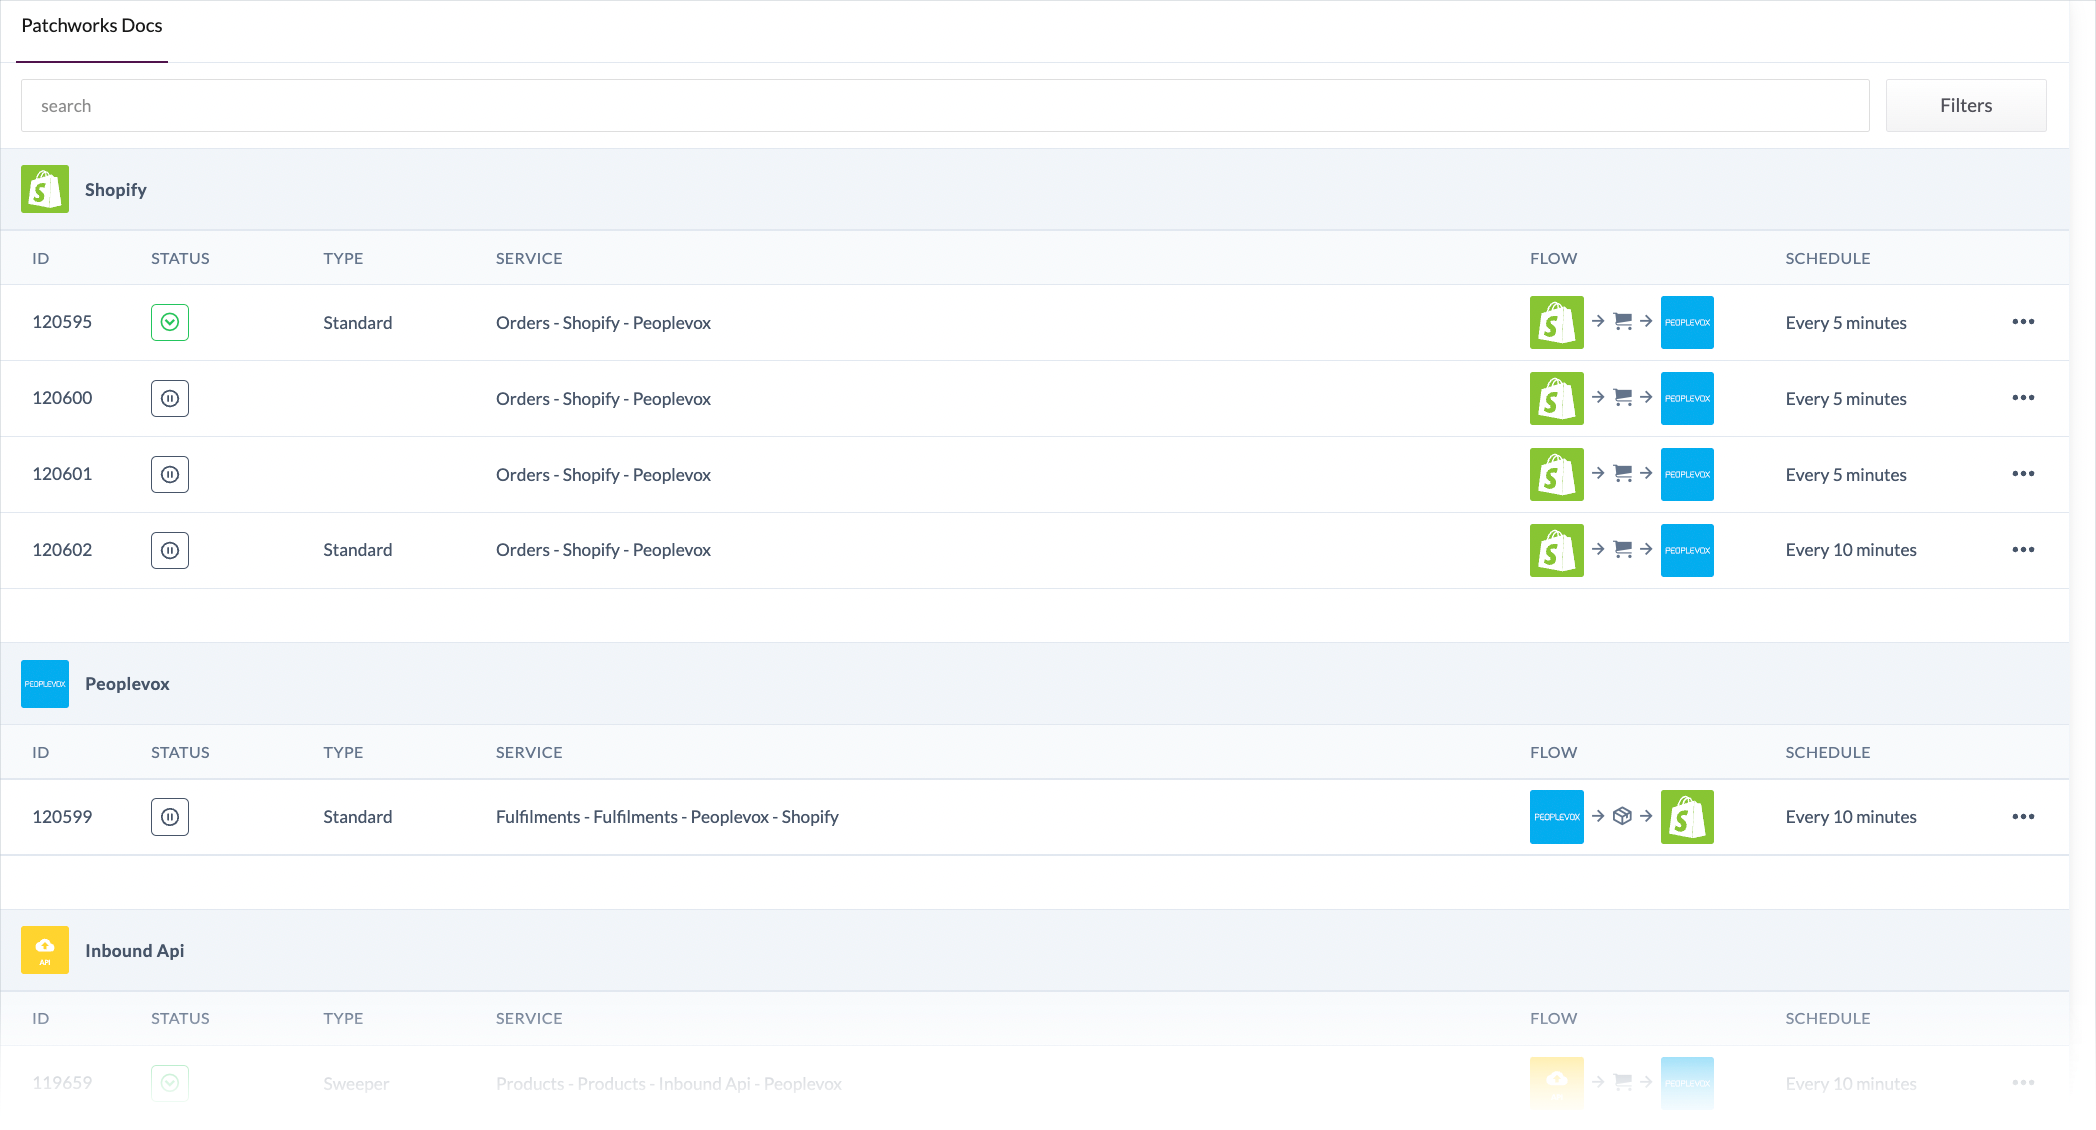
Access the [services list](/product-documentation/patchworks-services/working-with-services/the-services-list.md):
{% hint style="info" %}
Please see [accessing services](/product-documentation/patchworks-services/working-with-services/accessing-services.md) if you're not sure how to get to this point.
{% endhint %}
**Step 2**\
Click on the service that you wish to update:
**Step 3**\
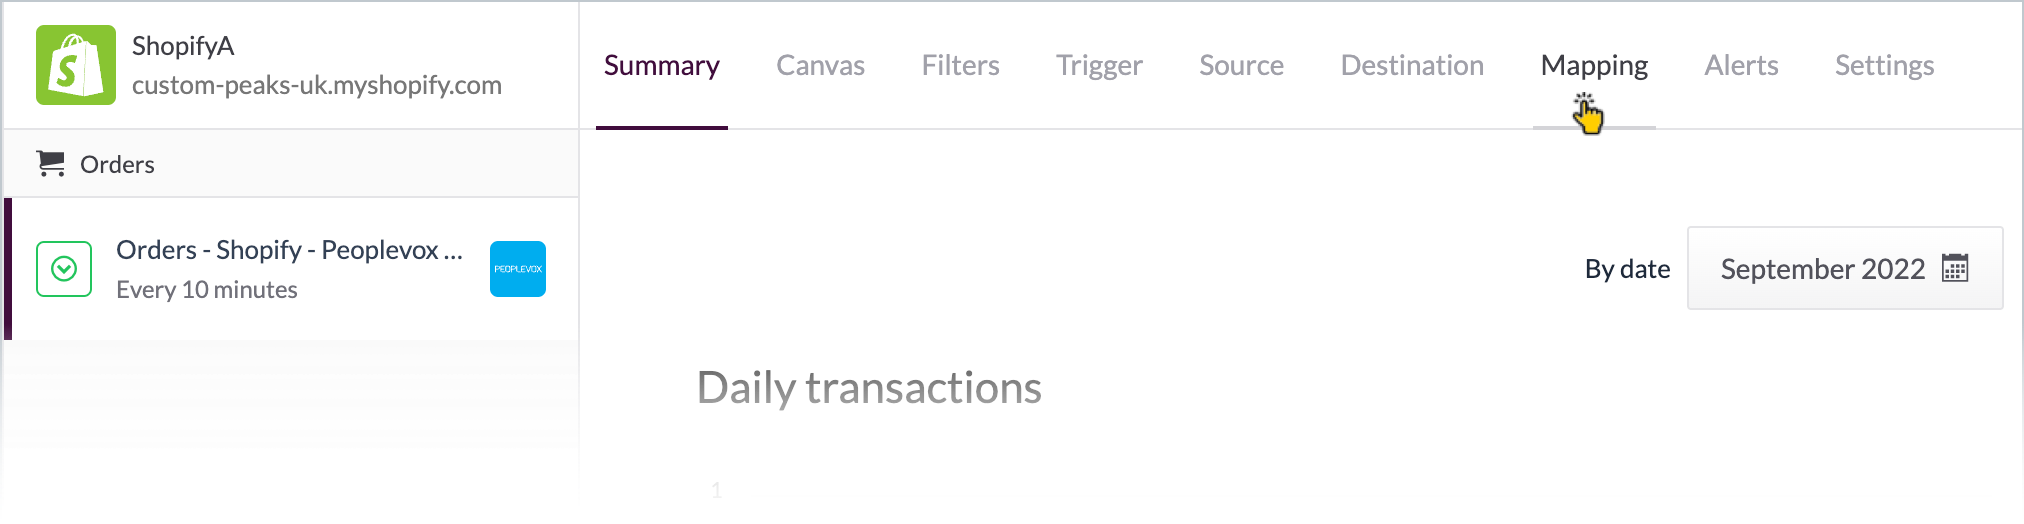
Click the **mapping** tab:
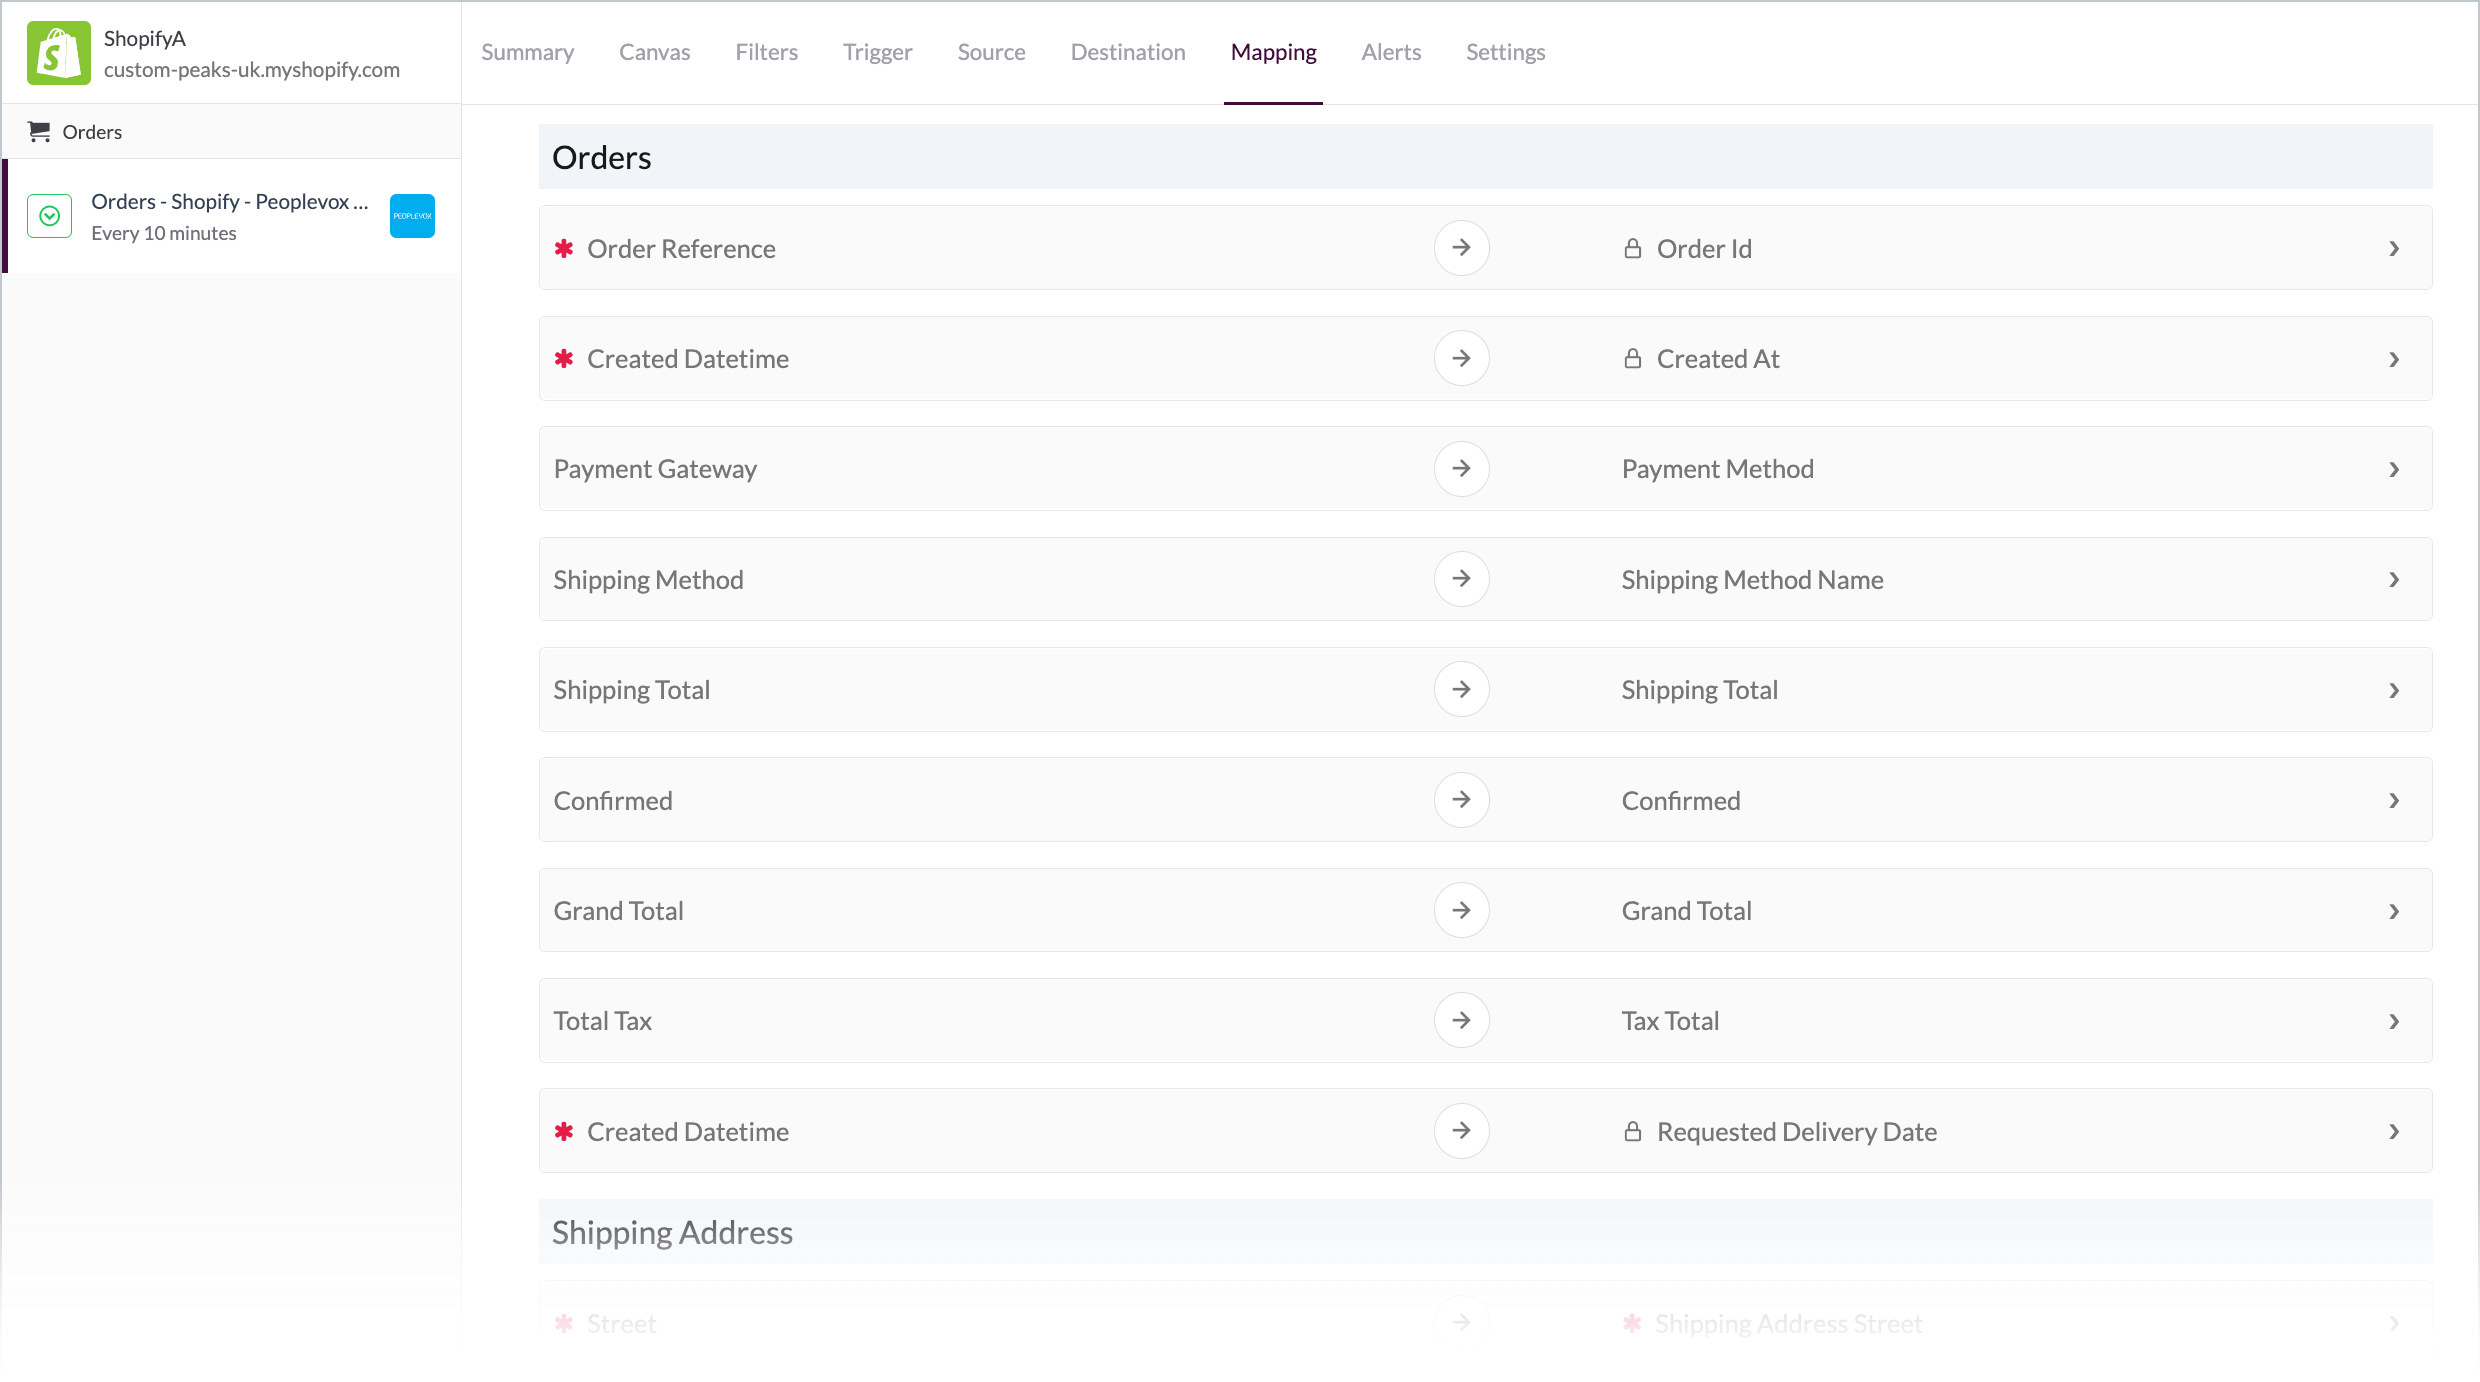
...existing field mappings are displayed:
**Step 4**\
Click the mapping entry that you wish to update with a new transform (or add a new mapping row):
**Step 5**\
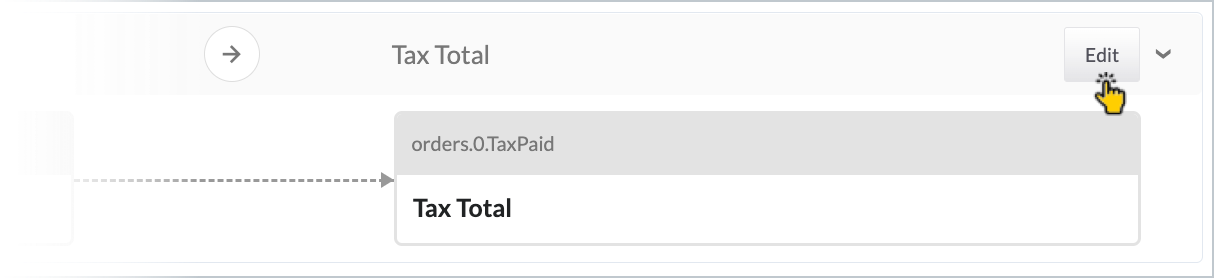
Click the **edit** option associated with the expanded mapping entry:
**Step 6**\
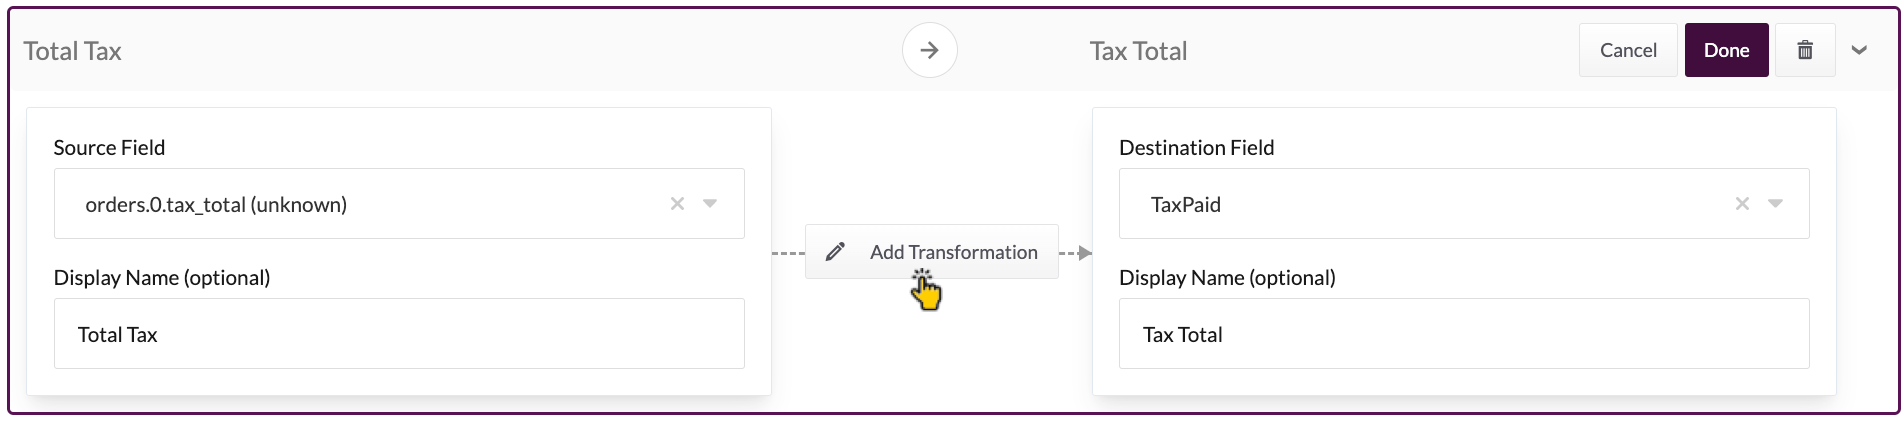
Click the **add transformation** button:
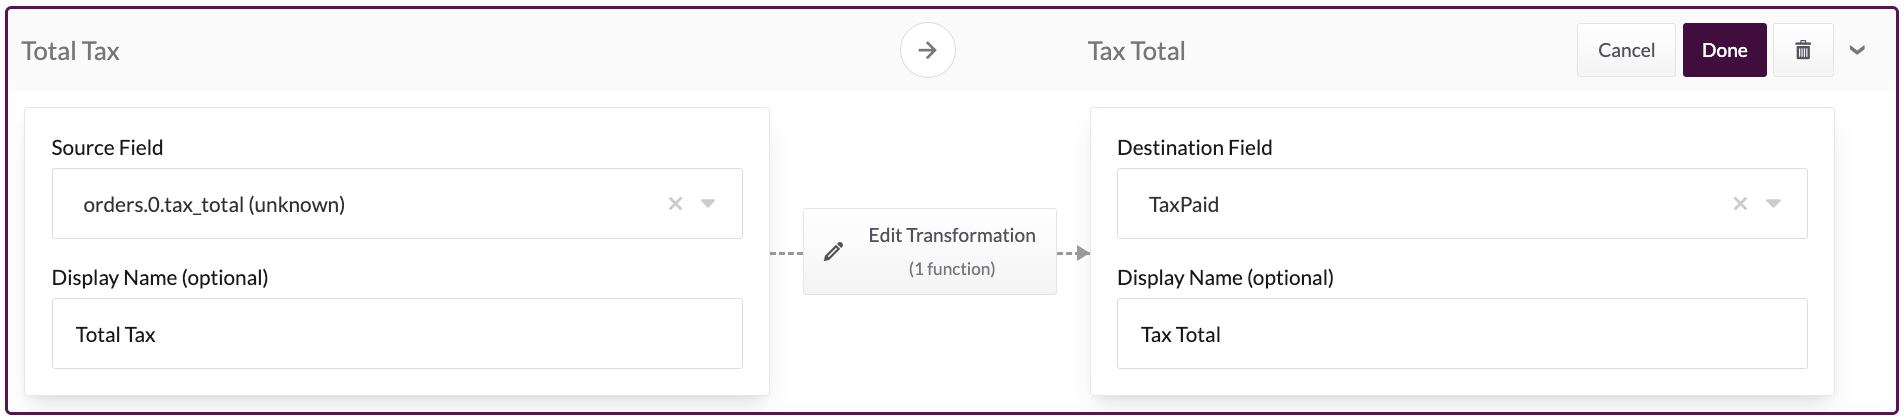
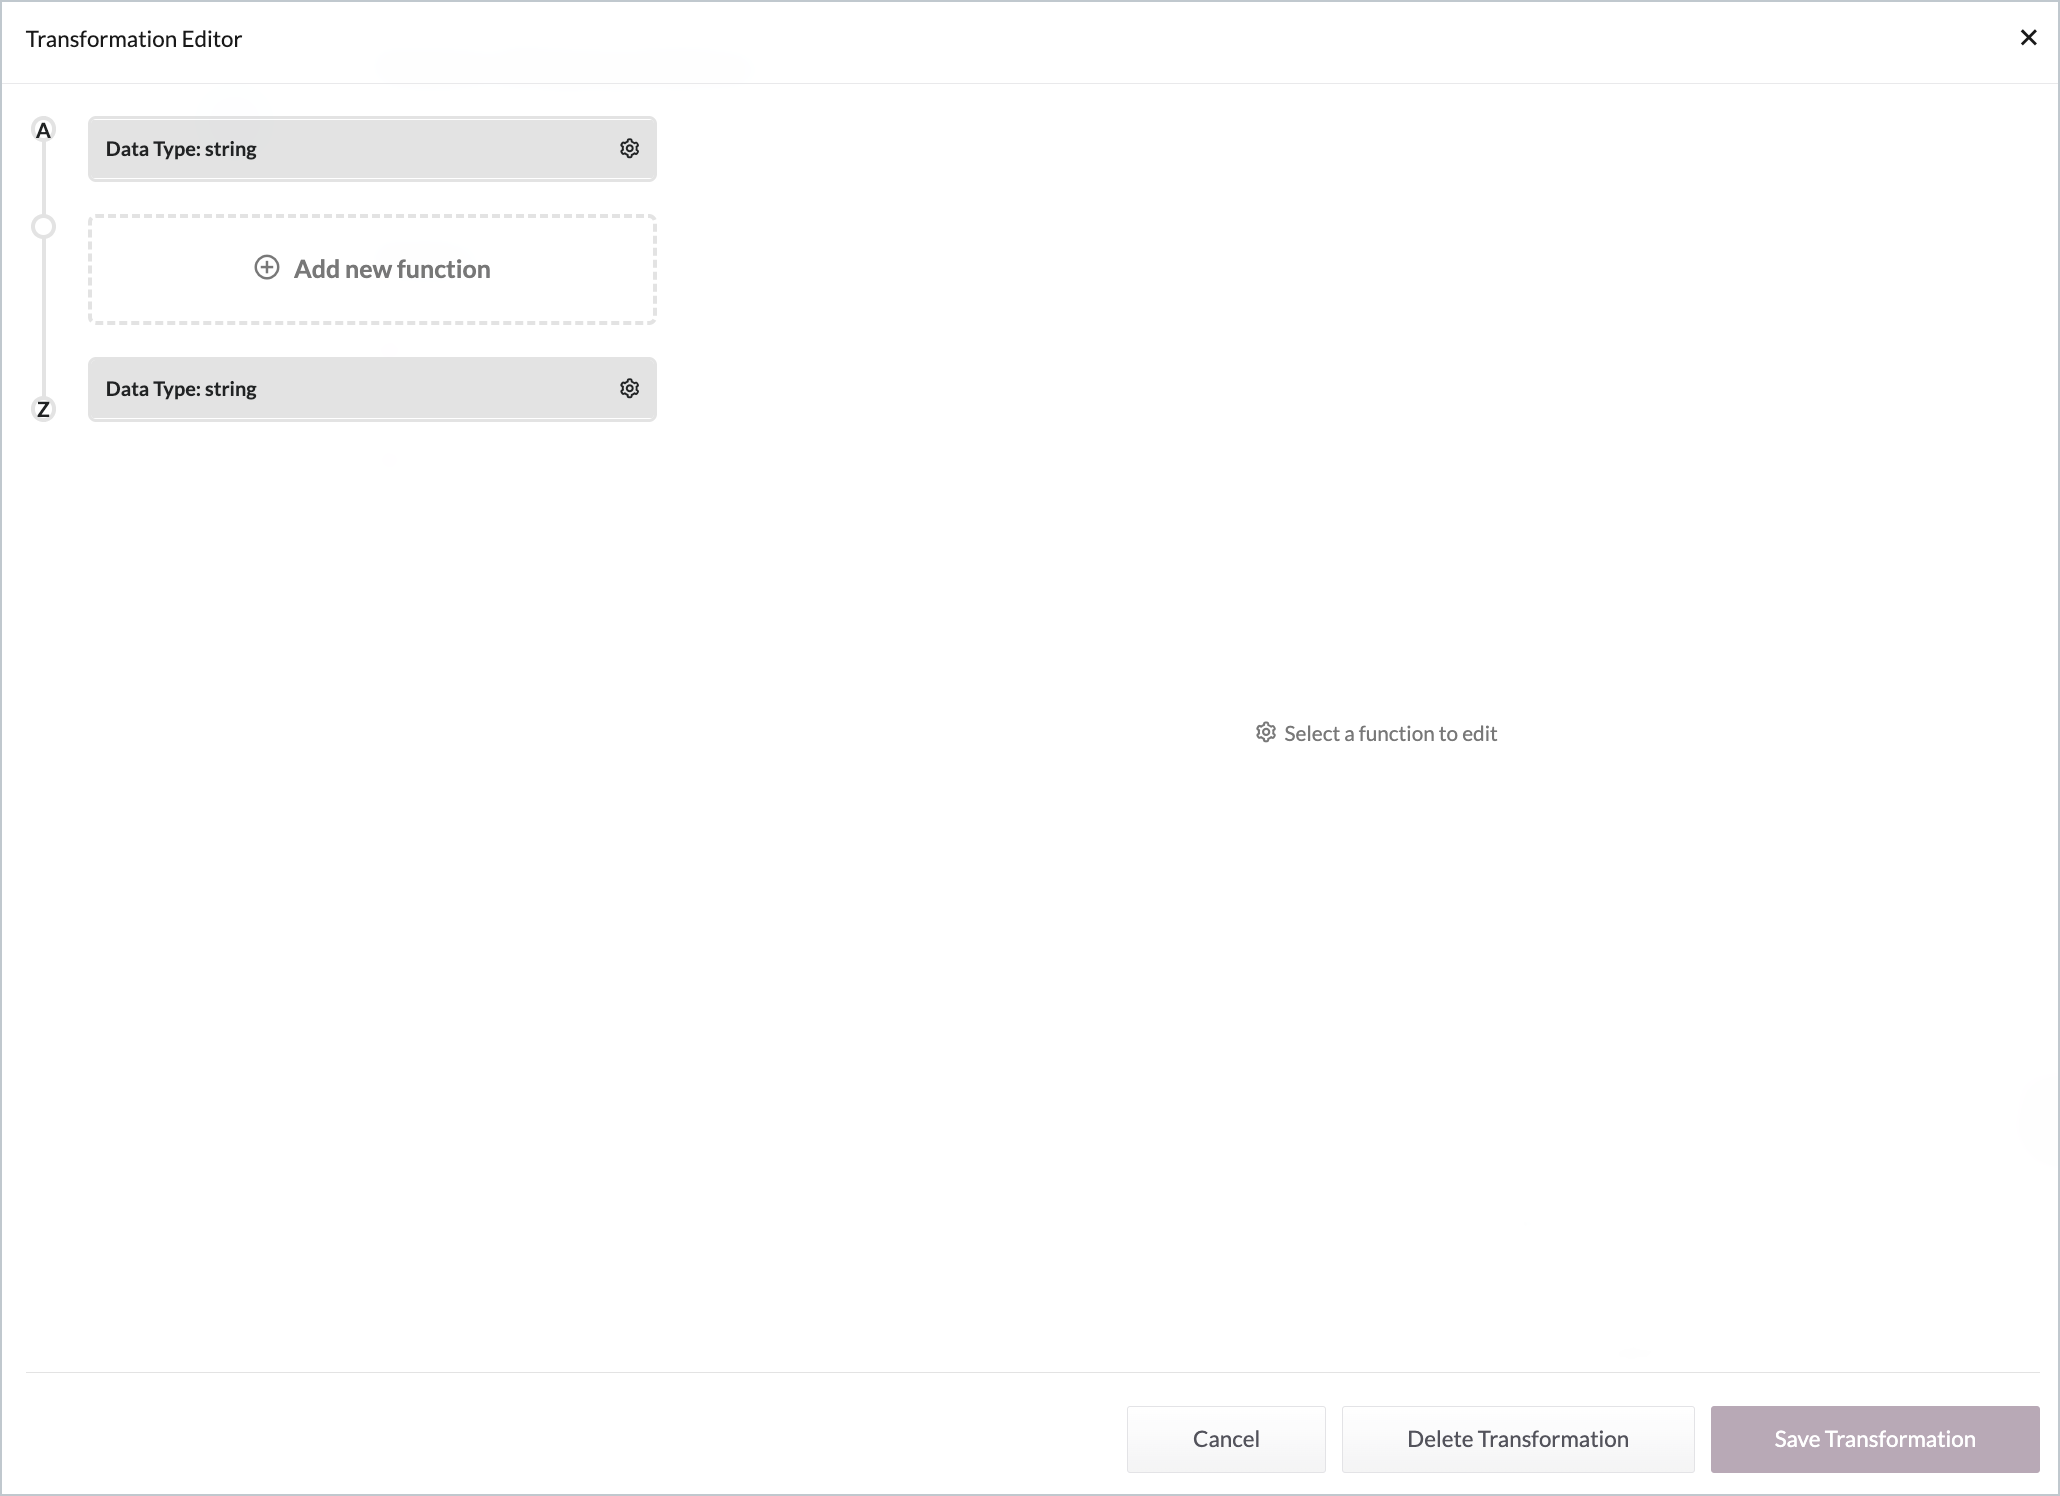
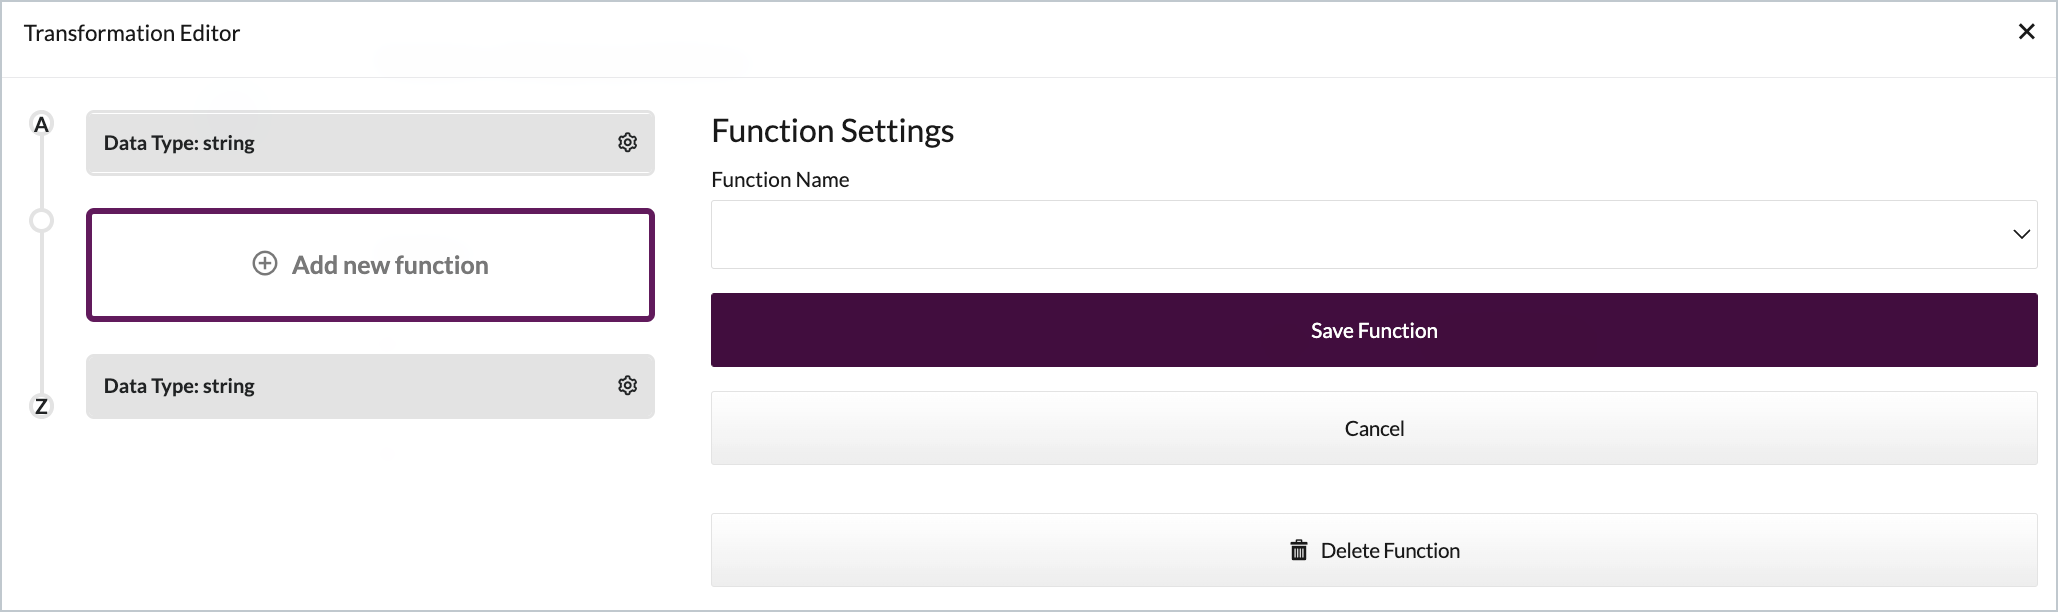
...the **transformation editor** is displayed, with a visual representation of the source and destination points for the mapping, together with an **add new function** option to define the required transformation between these two points:
{% hint style="warning" %}
A maximum of 15 custom scripts can be added to a single transform.
{% endhint %}
**Step 7**\
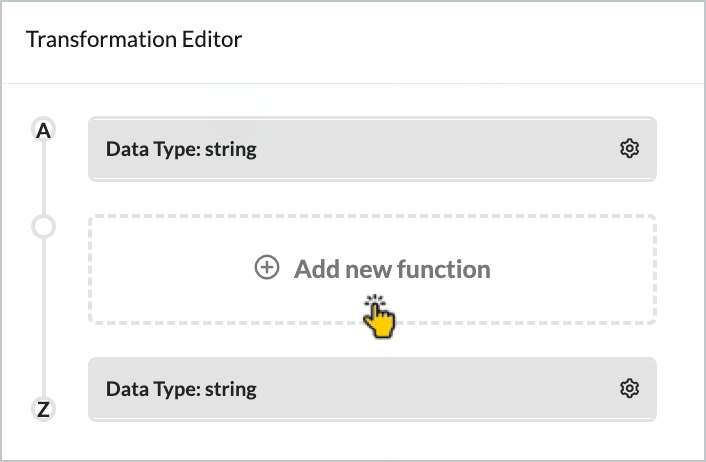
Click the **add new function** option:
...**function settings** are displayed:
**Step 8**\
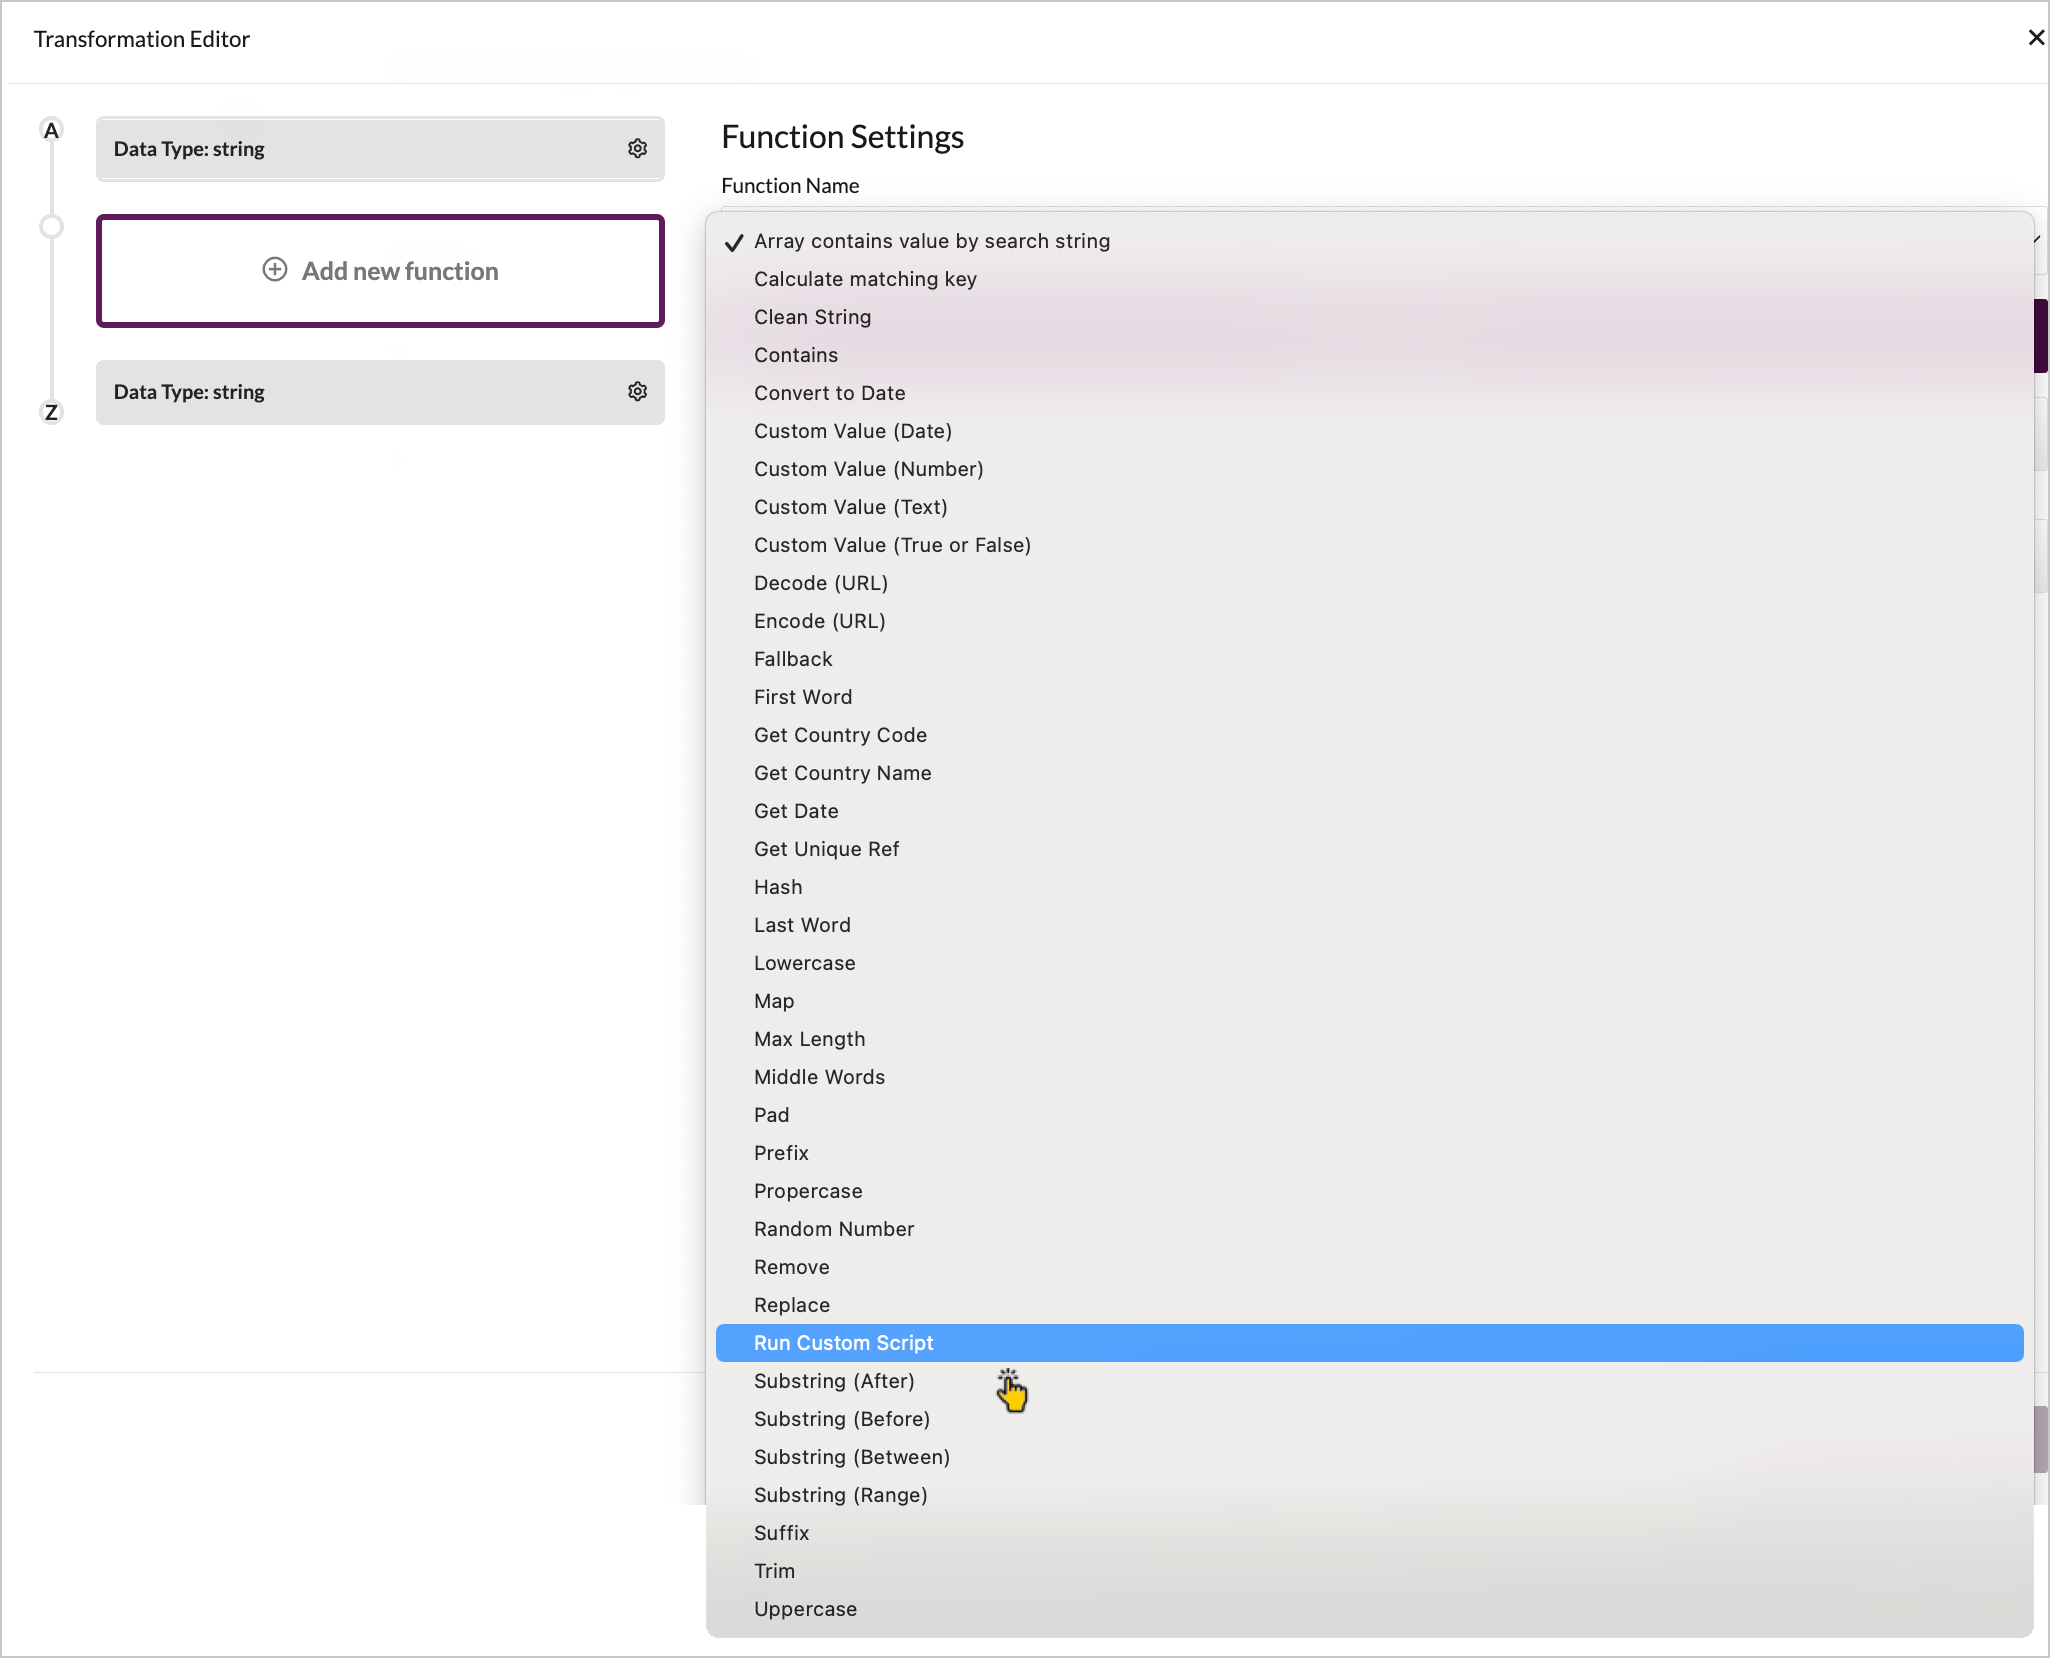
Click in the **function name** field and select **run custom script** from the dropdown list:
{% hint style="info" %}
The **run custom script** option is available for all data types except **float**.
{% endhint %}
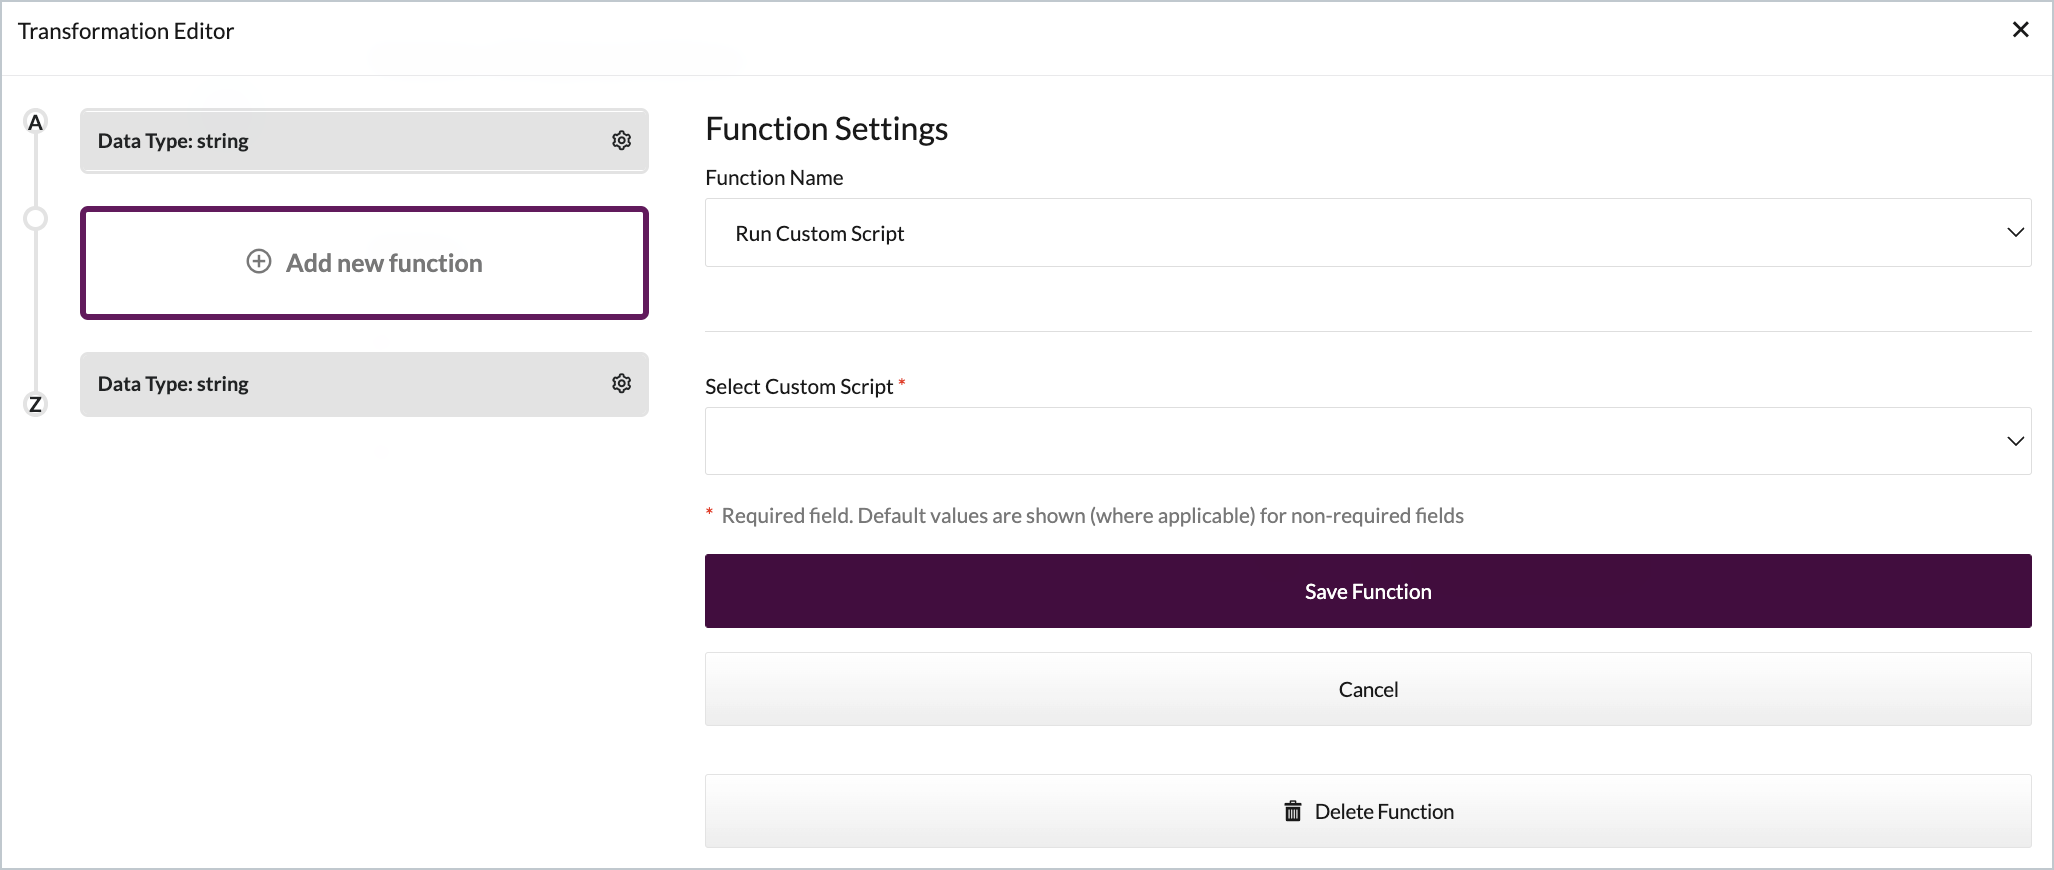
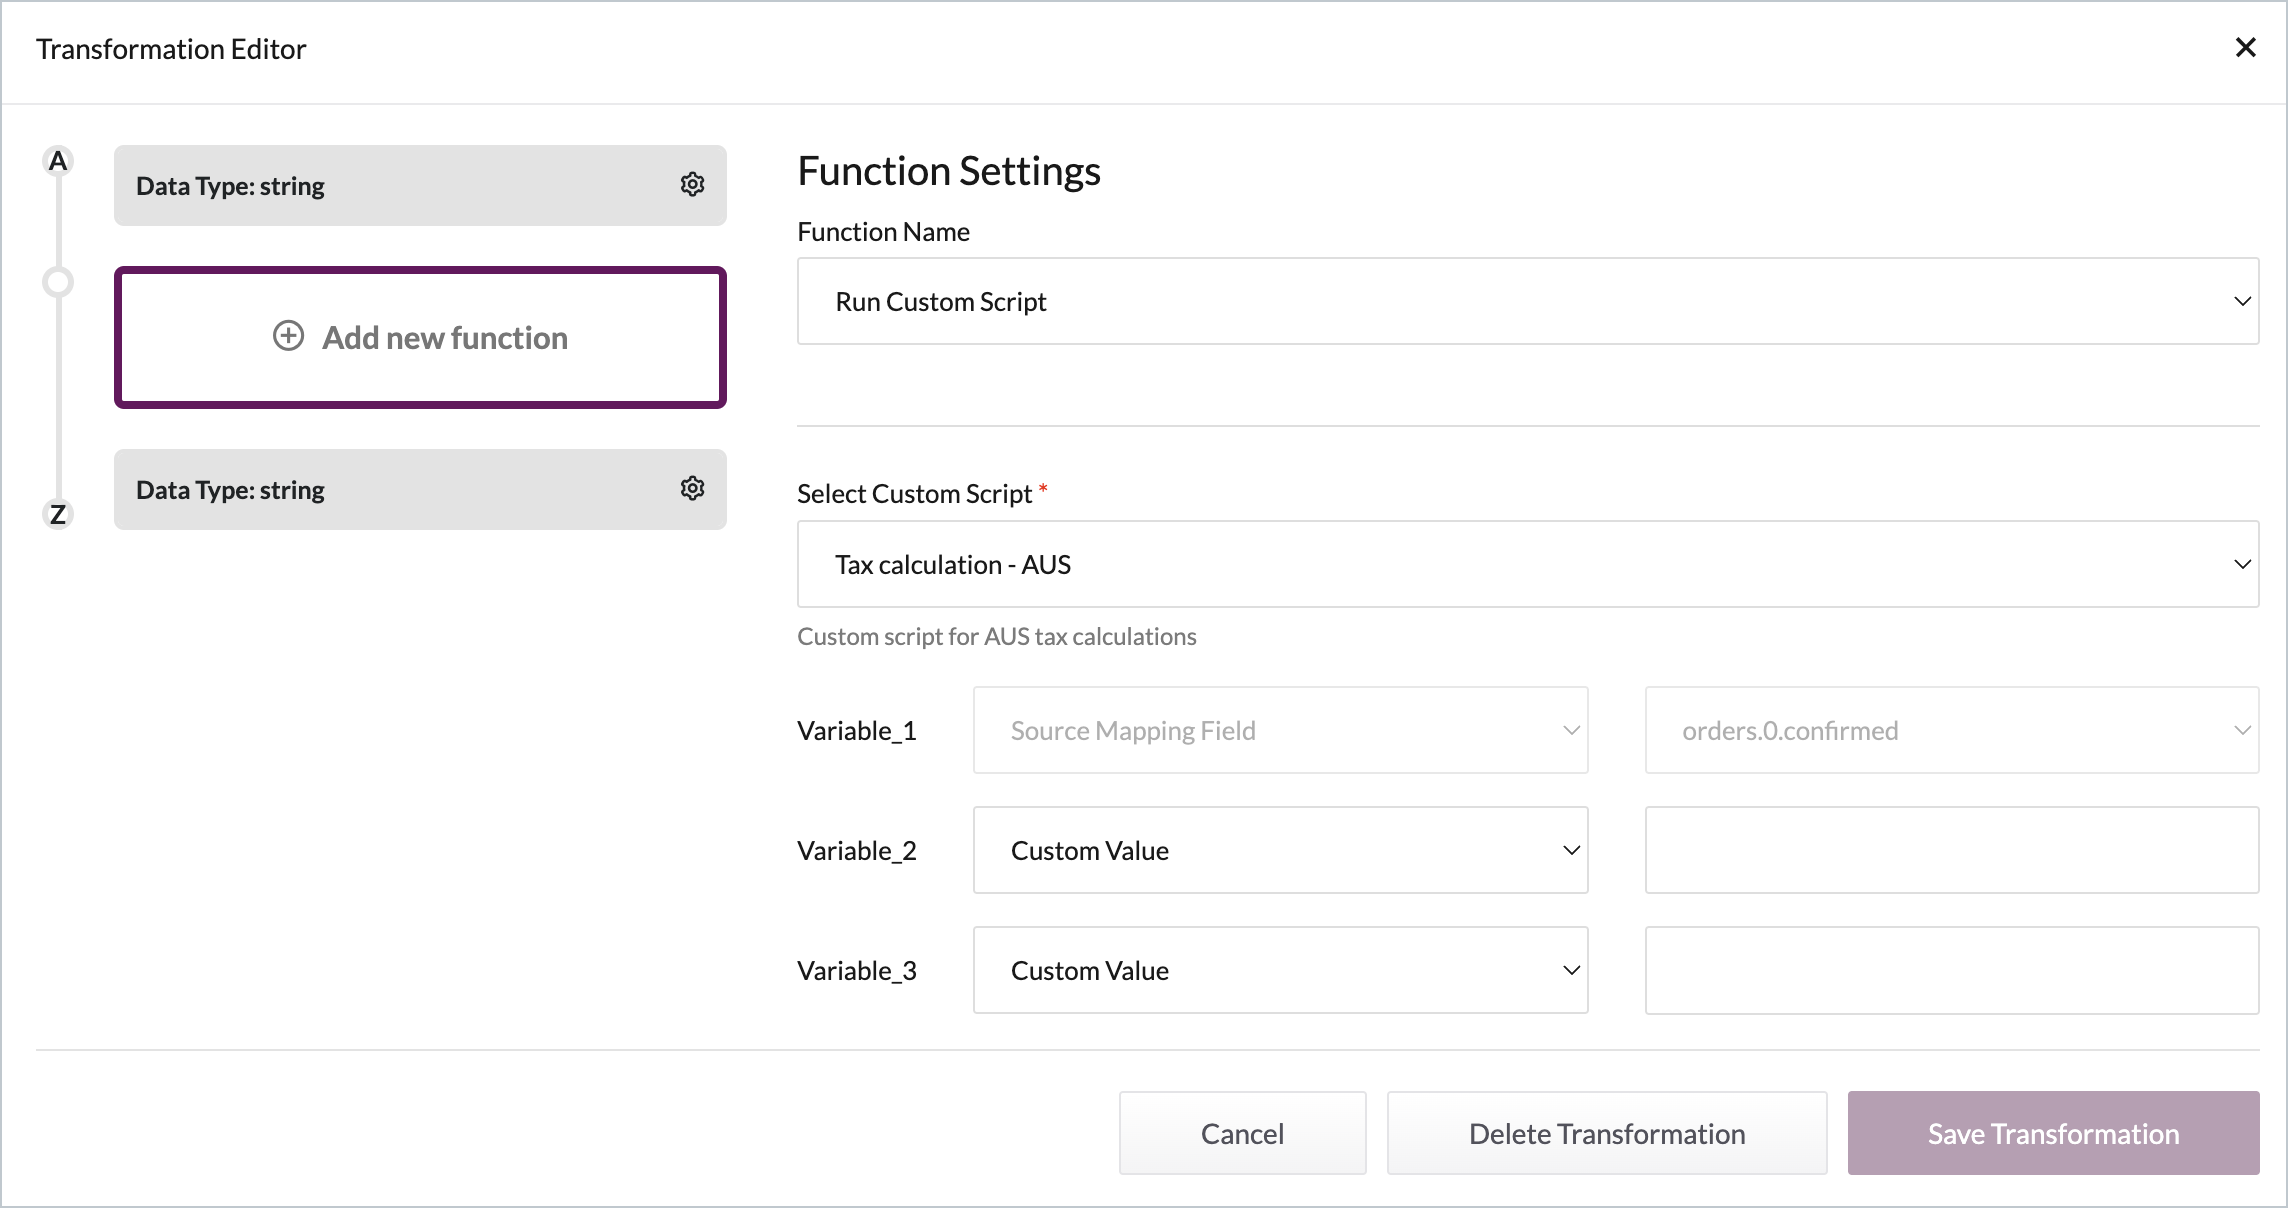
...the **transformation editor** page updates and a new **select custom script** field is displayed:
**Step 9**\
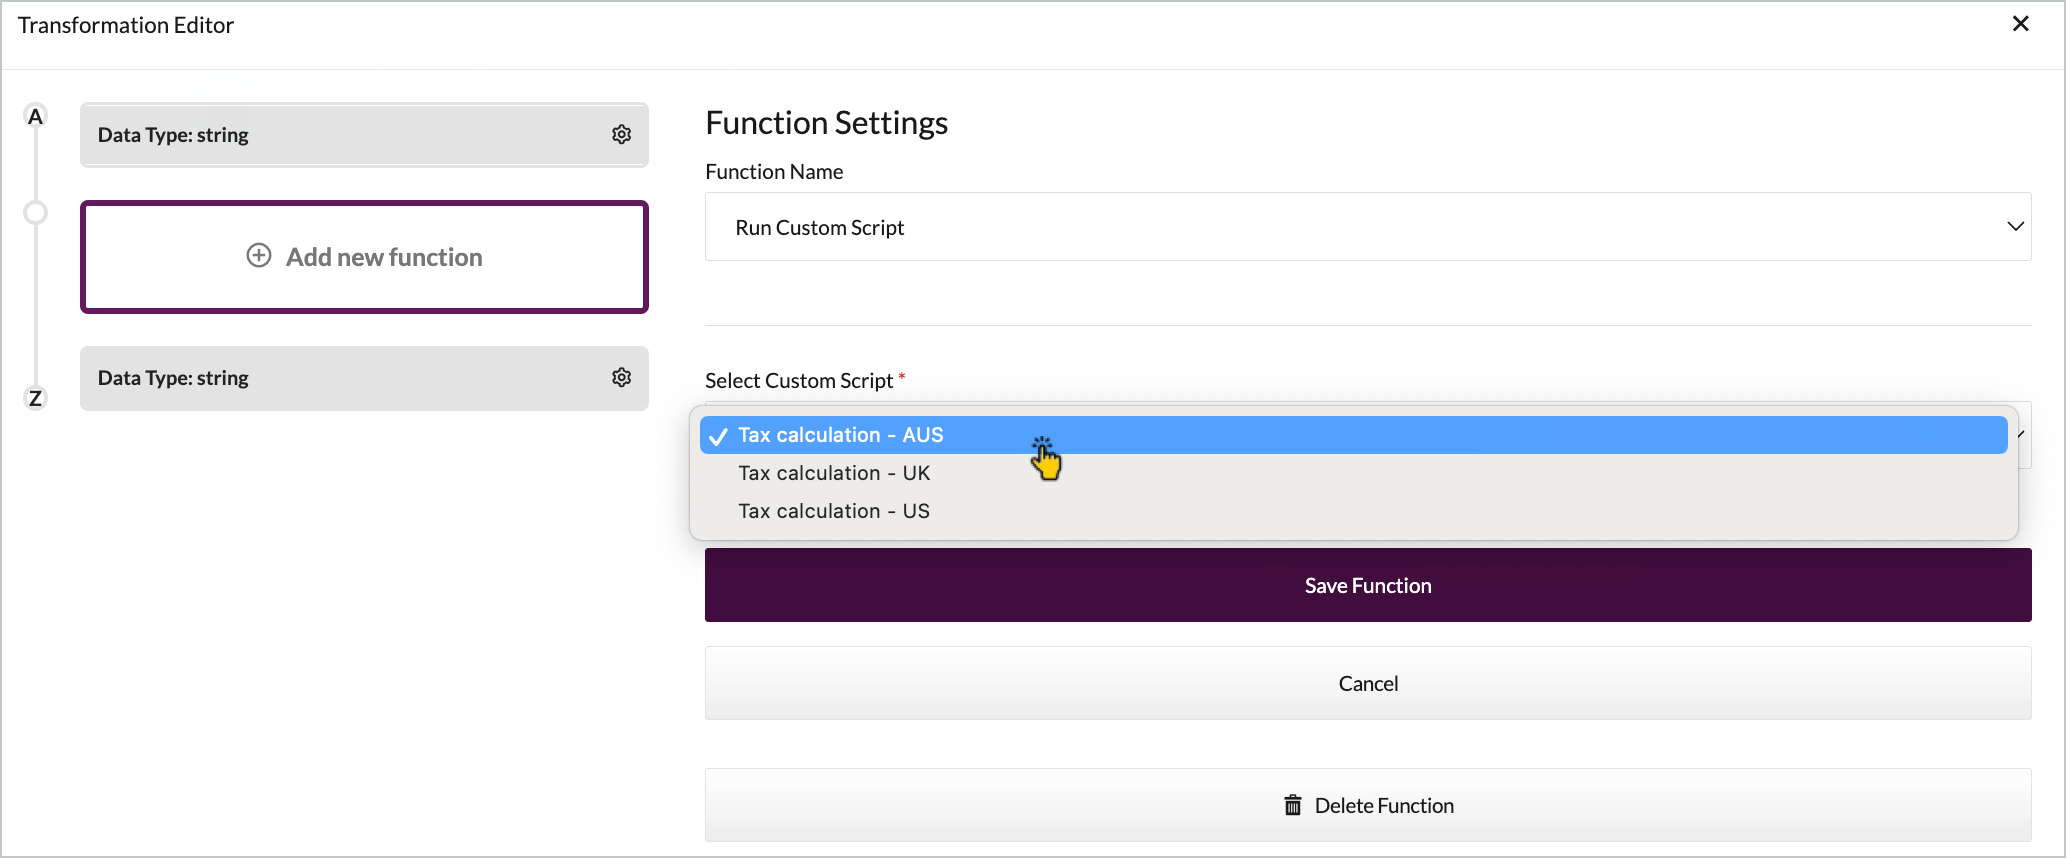
Click in the **select custom script** field to show a list of all available custom scripts, then choose the required entry for this mapping:
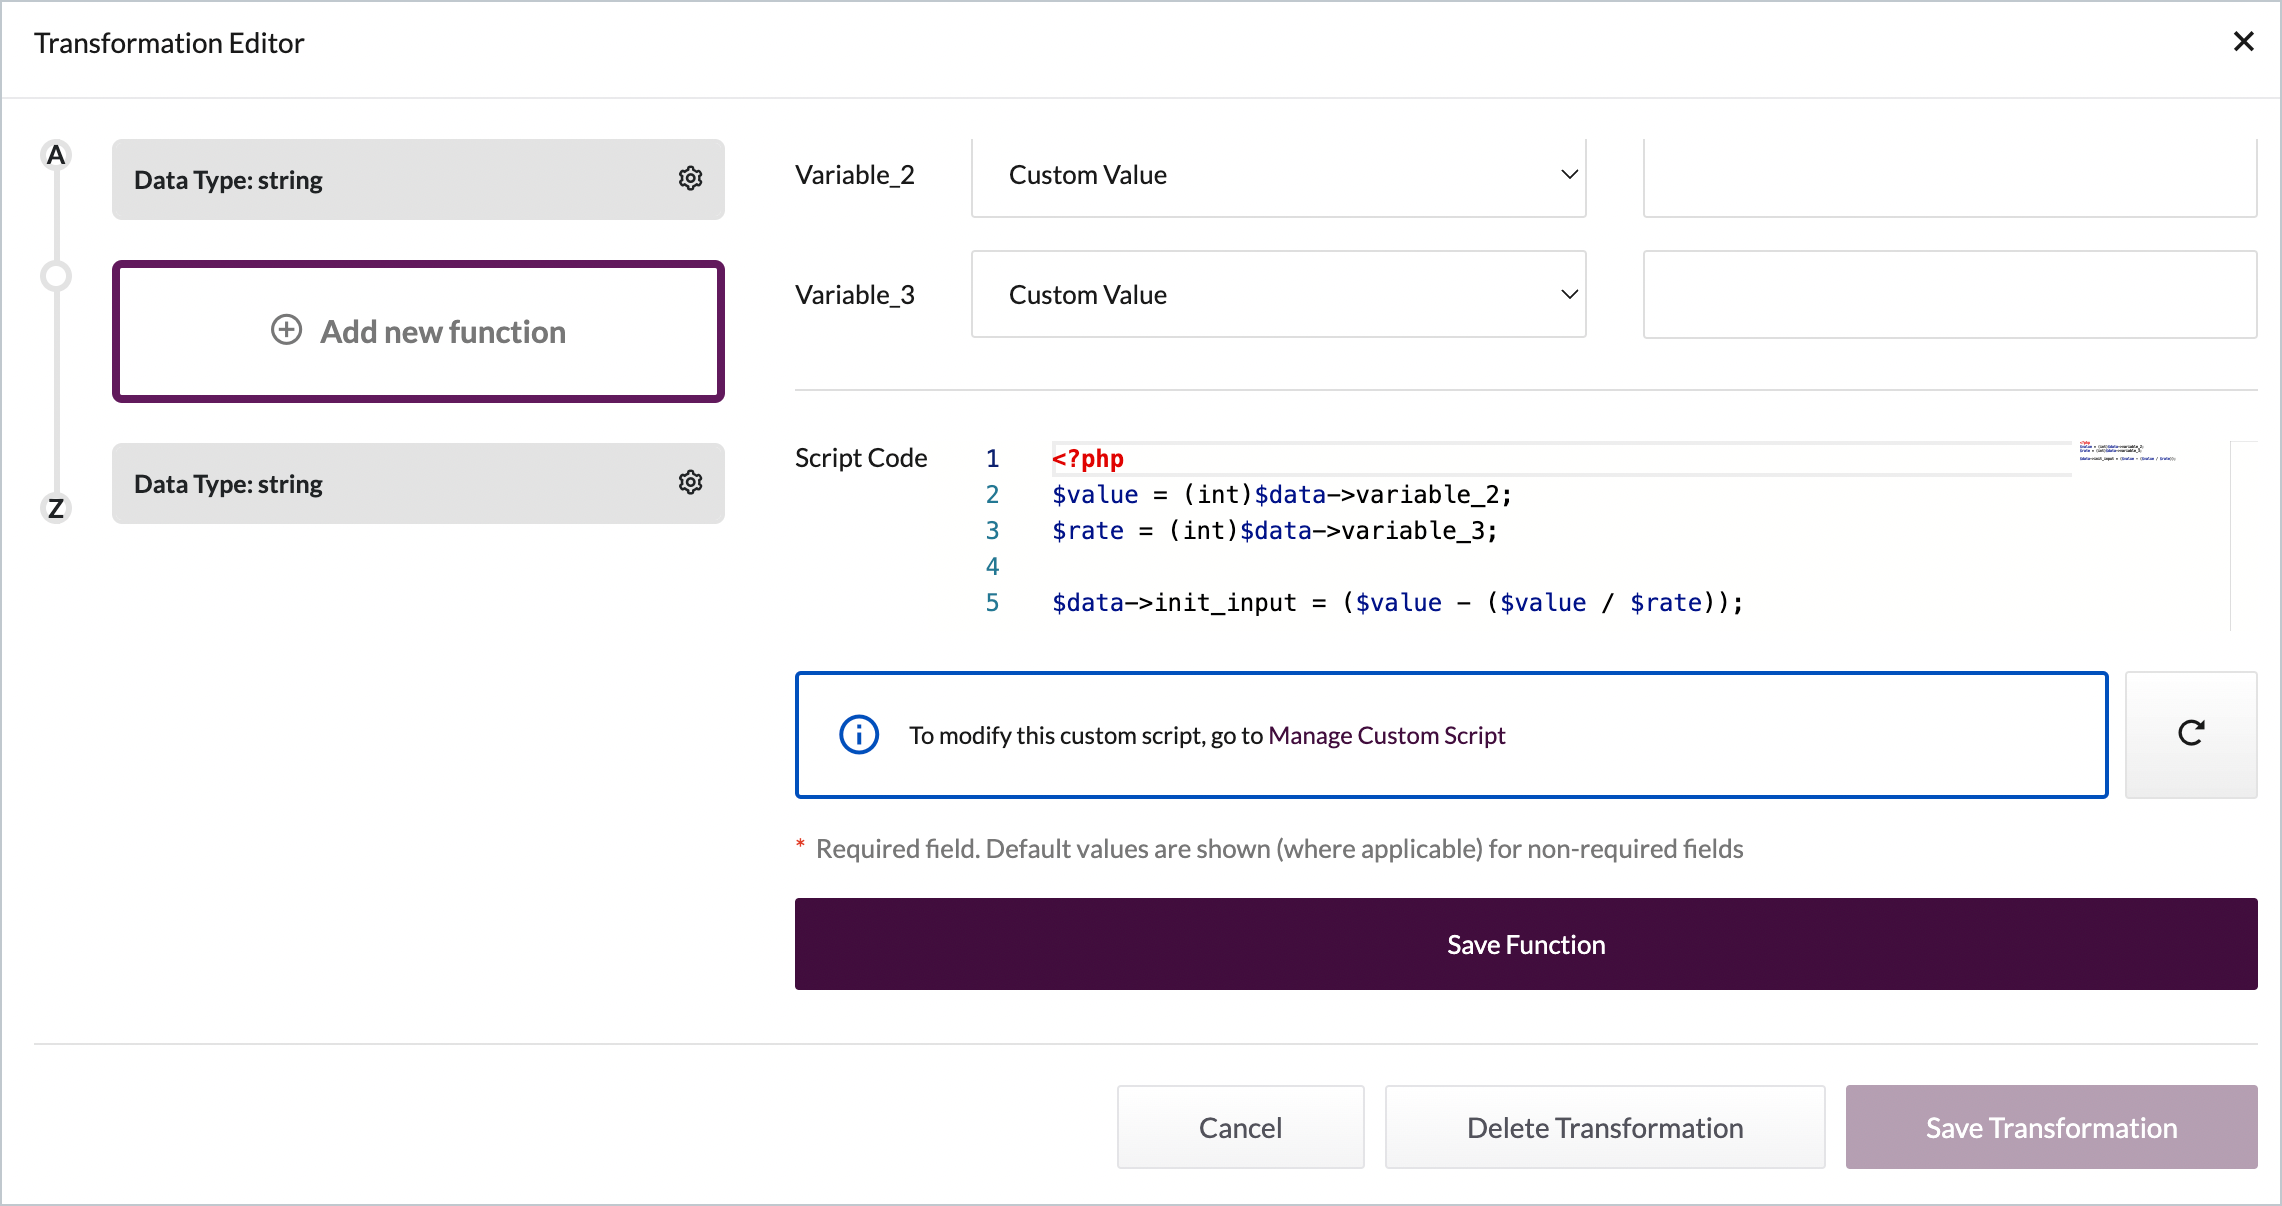
...the **transformation editor** page updates so the code and any variable fields for the selected script are shown:
...scroll down to view the code associated with this script:
{% hint style="info" %}
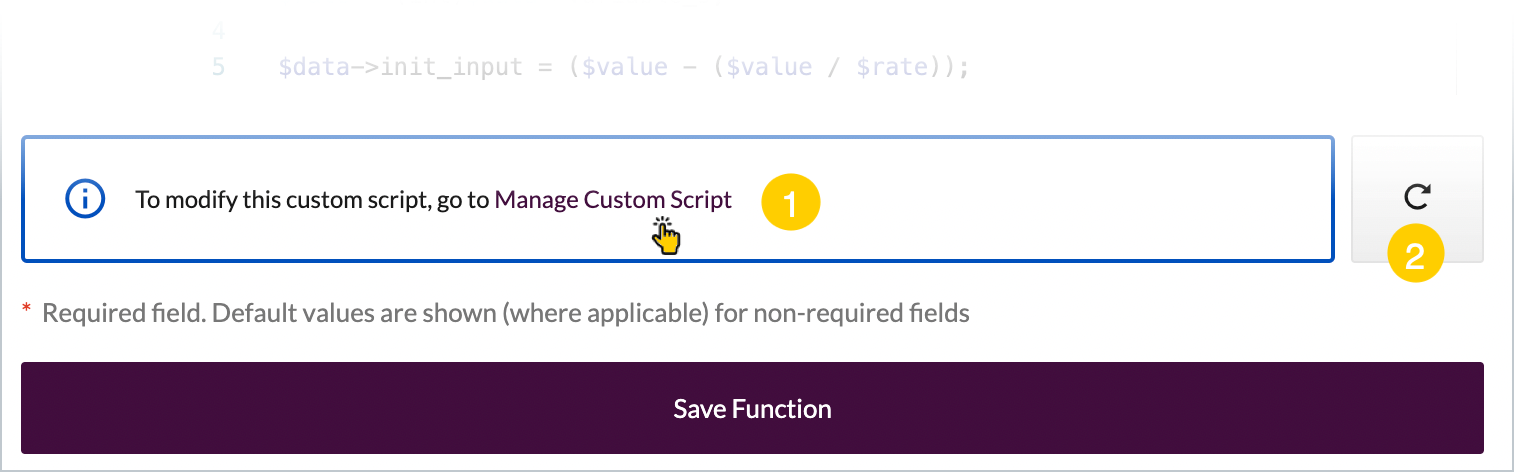
You can't change custom script code here in the **transformation editor**. However, options are available so you can make changes to the original custom script, quickly and easily:\
\
Click the **manage custom script** link in the info box (see **1** above) to open the custom script in edit mode, in a new browser tab. There, you can make changes and save the script - then return to the **transformation editor** and click the **refresh** icon (see 2 above) to refresh the code.
{% endhint %}
**Step 10**\
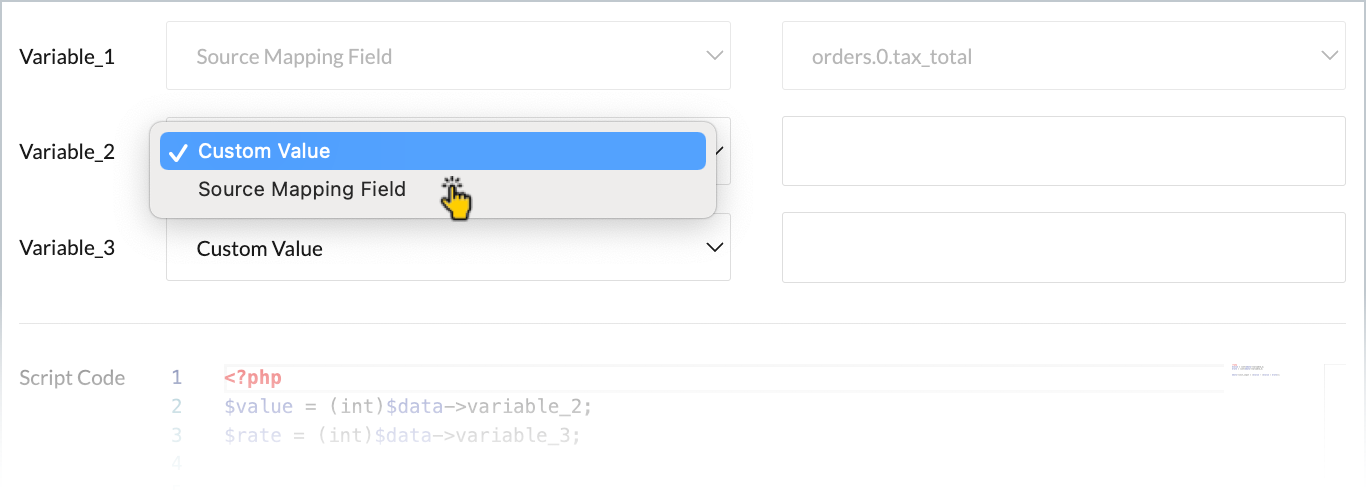
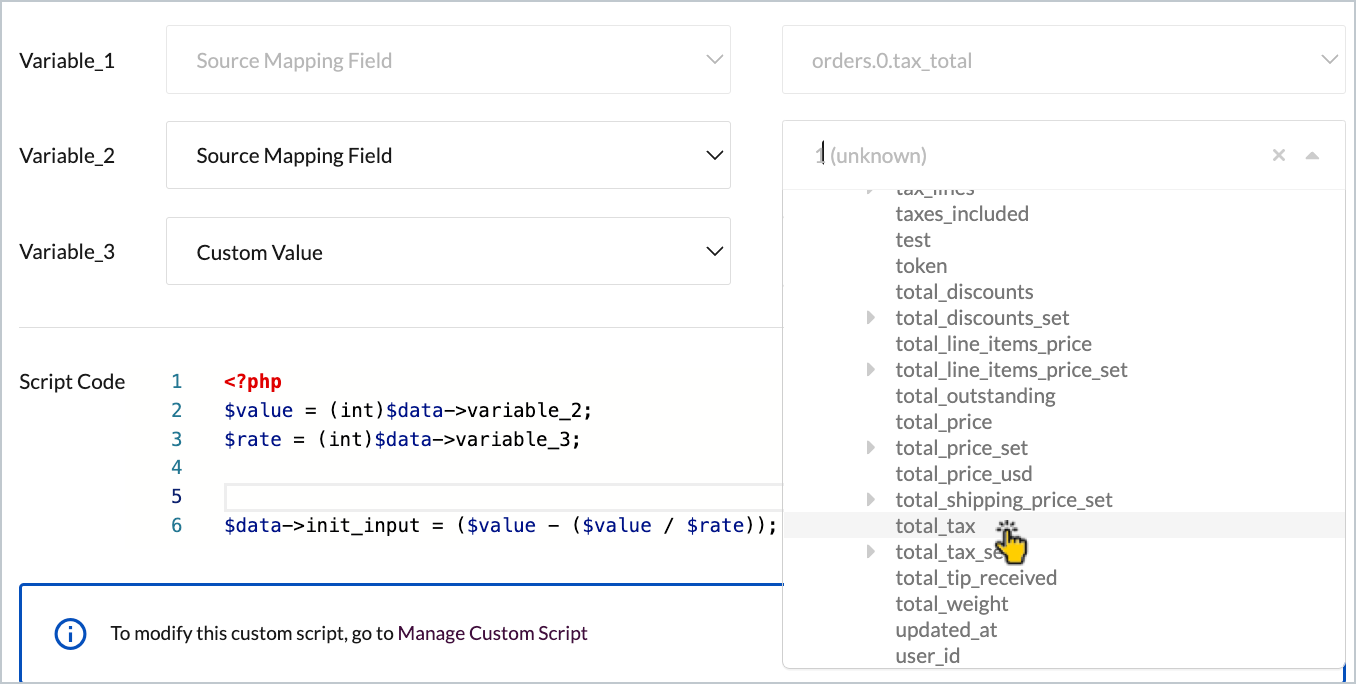
Update variable fields as required. Click in a variable field and choose either **custom value** (then enter a static value to the right):
...or select **source mapping field** (then select the required source mapping field to the right):
**Step 11**\
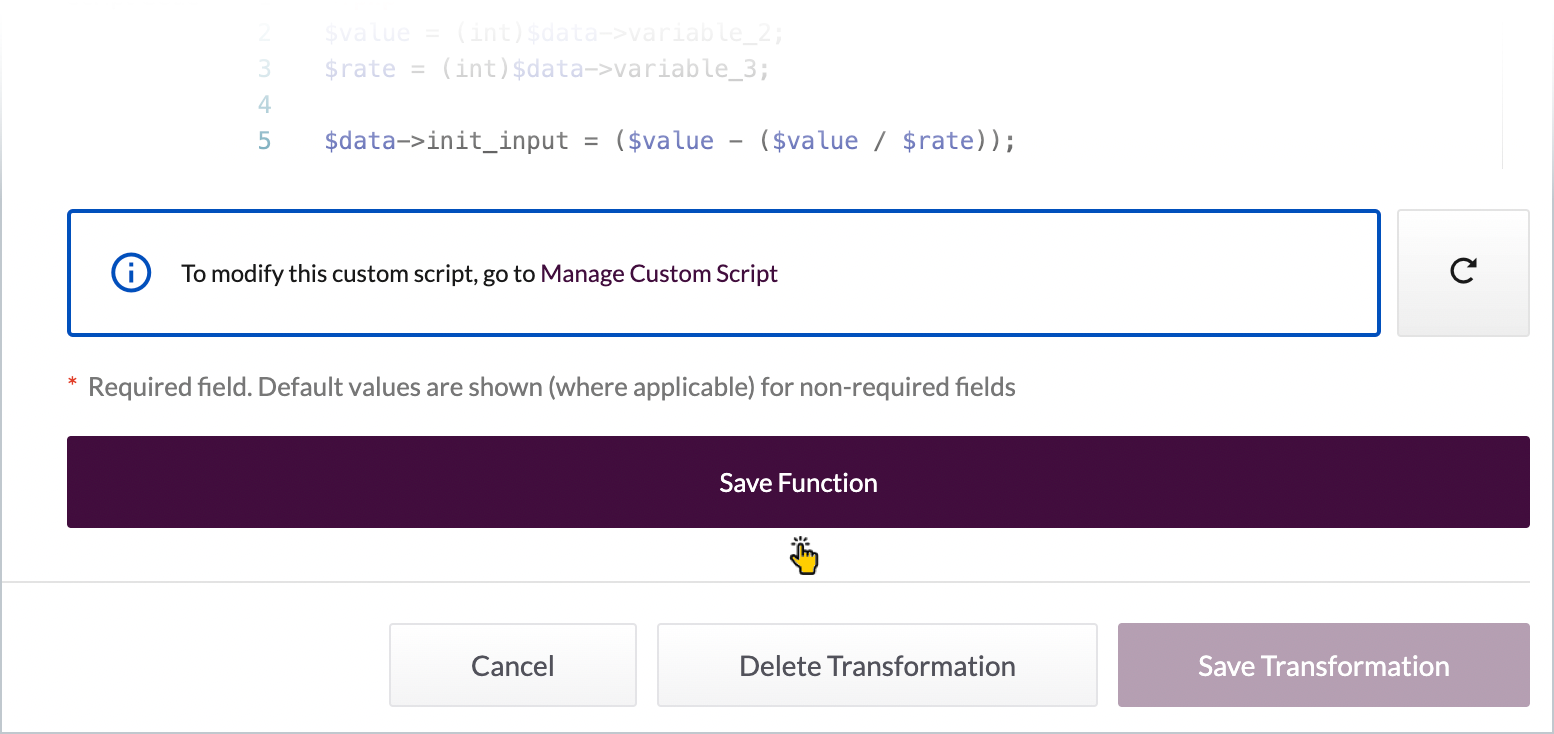
Click the **save function** button:
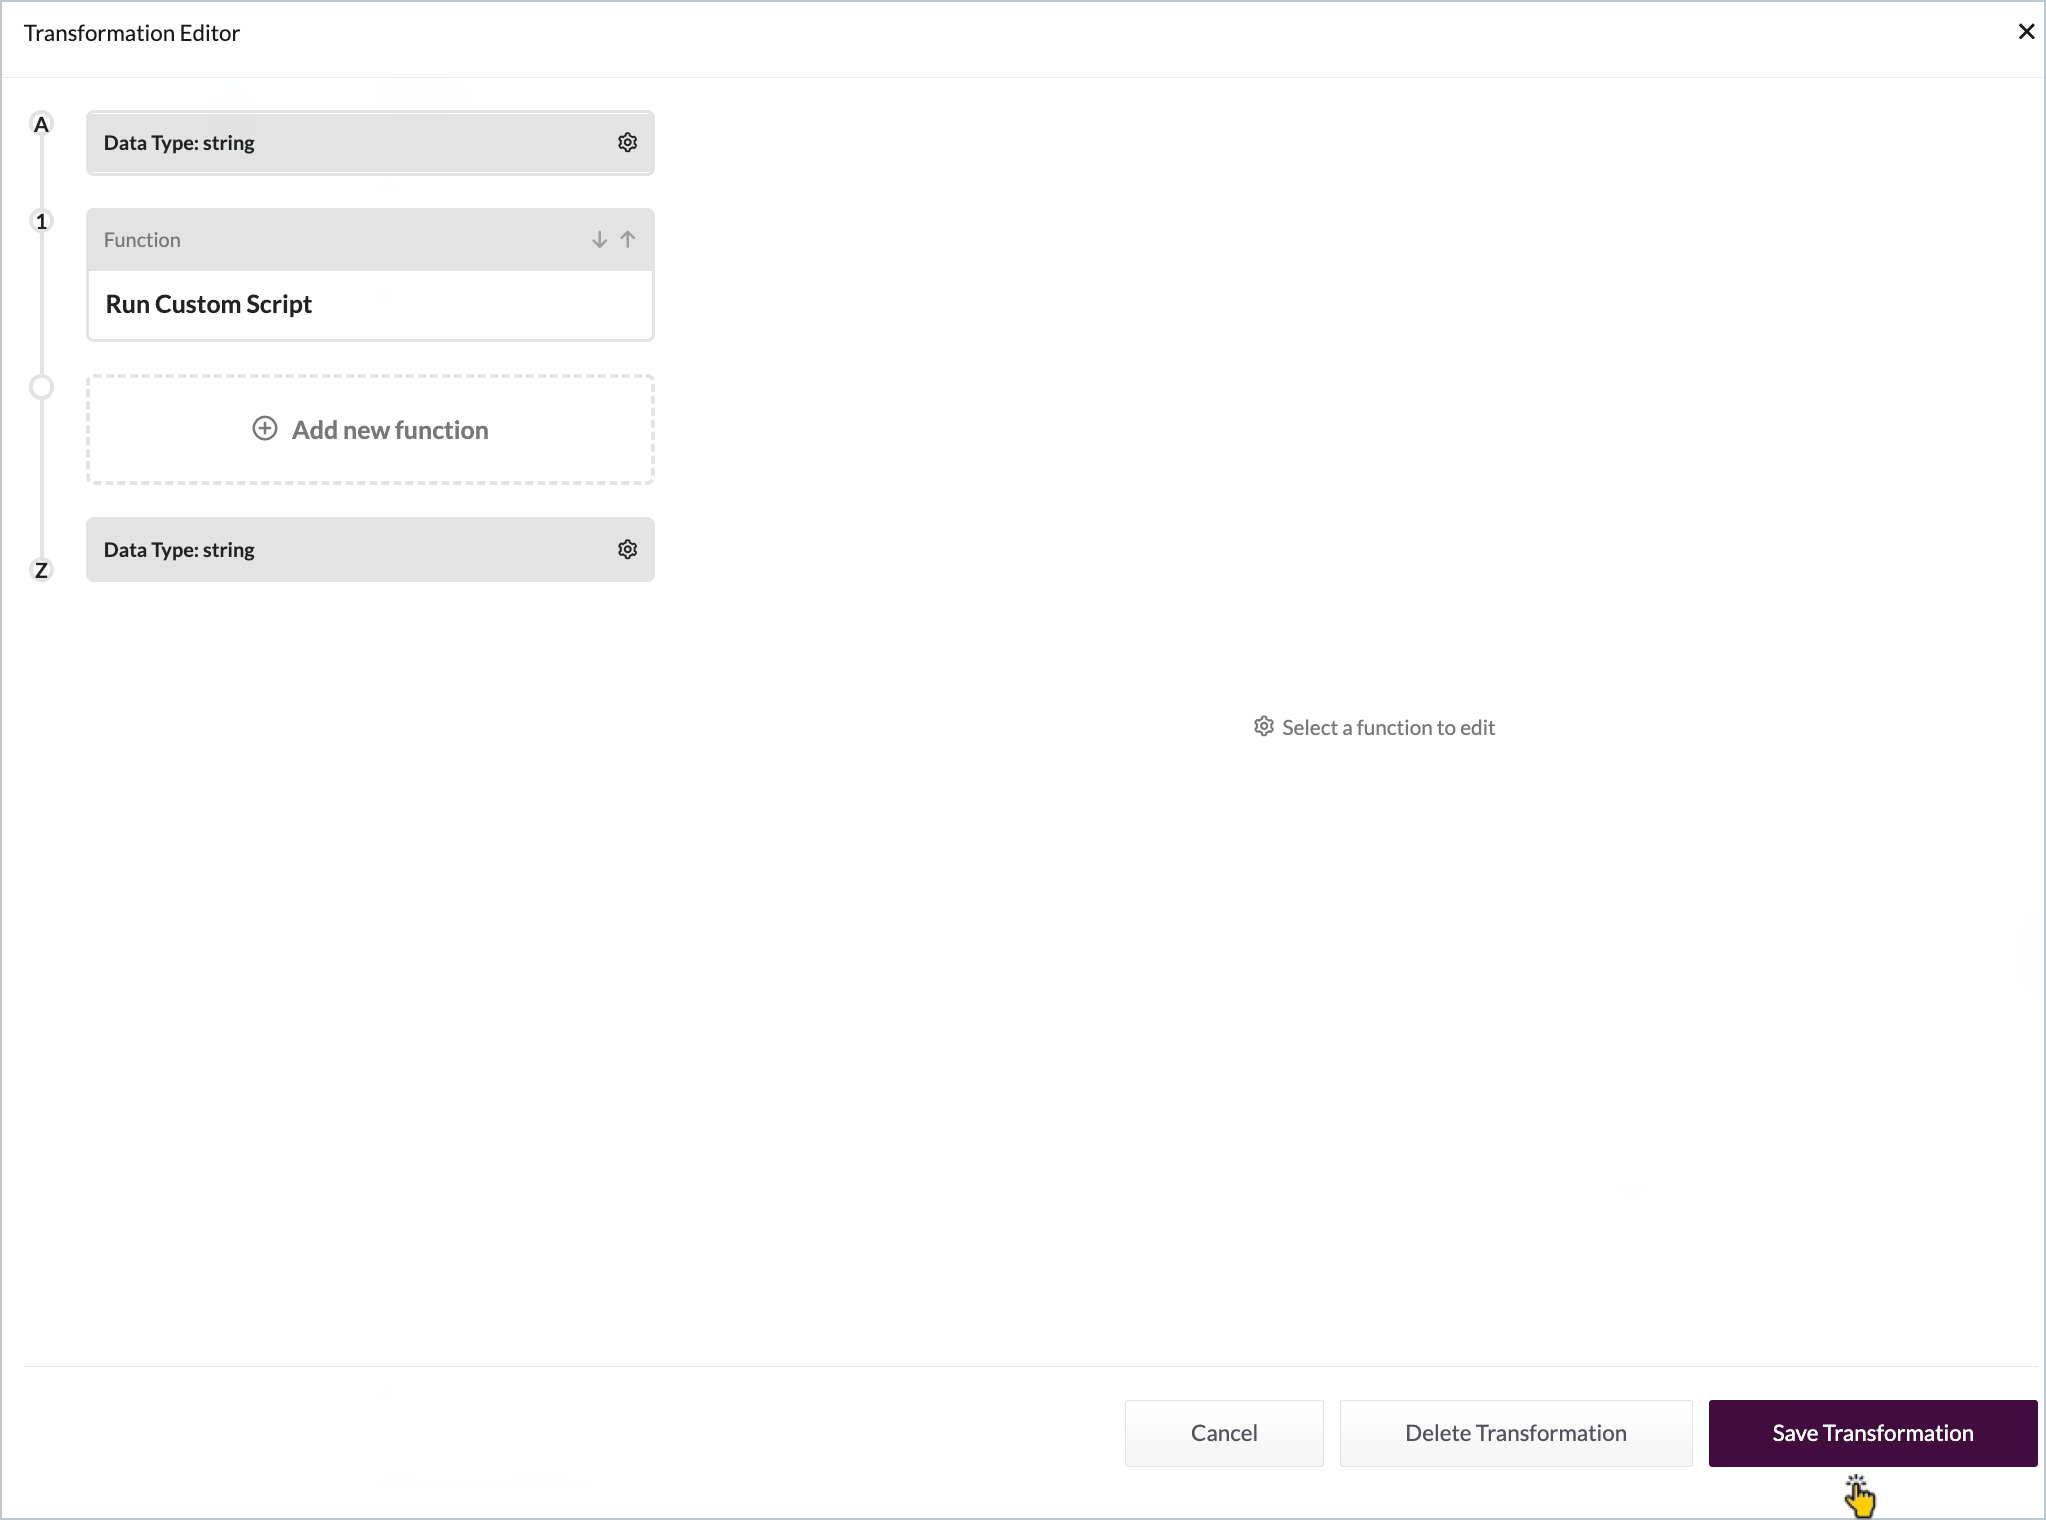
...the **transformation editor** updates and your new function is displayed in the visual representation. From here, you can choose to add another function, or **save transformation**:
...you are returned to the mapping page, which now shows a transformation for the row you've been working on:
**Step 12**\
Repeat these steps as required for any other mapping entries.


 Click the **manage custom script** link in the info box (see **1** above) to open the custom script in edit mode, in a new browser tab. There, you can make changes and save the script - then return to the **transformation editor** and click the **refresh** icon (see 2 above) to refresh the code.
{% endhint %}
**Step 10**\
Update variable fields as required. Click in a variable field and choose either **custom value** (then enter a static value to the right):
Click the **manage custom script** link in the info box (see **1** above) to open the custom script in edit mode, in a new browser tab. There, you can make changes and save the script - then return to the **transformation editor** and click the **refresh** icon (see 2 above) to refresh the code.
{% endhint %}
**Step 10**\
Update variable fields as required. Click in a variable field and choose either **custom value** (then enter a static value to the right):