Legacy shipment & payment maps (services)
Learn how to access and update shipment/payment mappings if you are using an older version of the Patchworks dashboard.
In older versions of the Patchworks dashboard, shipment and payment mappings for services are defined via Company Groups.
This page summarises how to access and update shipment/payment mappings if you are not using the latest version of the Patchworks dashboard.
Accessing Shipment and Payment Maps
Follow the steps below:
Step 1
Log in to the Patchworks dashboard.
Step 2
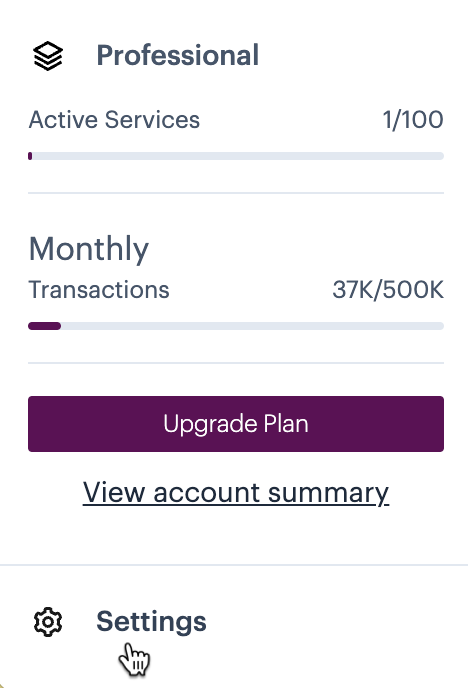
Move to the bottom of the left-hand navigation bar and select Settings:

Step 3
Select my company profile:
Step 4
Scroll down to the Company Groups section and click the Manage option for the required group - for example:
Step 5
Scroll to the Shipment and Payment Maps section at the end of the Manage Company Group page:
Step 6
Select the Manage Shipment Map or Manage Payment Map option, as required.
Working with Shipment and Payment Maps
Shipment Data Mapping and Payment Data Mapping pages work in the same way.
In each case, you map the value of a field to a different output value based on given conditions. Some examples are shown below:
Each mapping is added as a row, where the following elements are defined:
Enter the name of a source field to be transformed.
Select the condition under which the given Field Name should be transformed. Possible match values are:
- Contains
- Starts With
- Ends With
- Exact
Enter the value to be matched if found in the Field Name.
Enter the value to be output when a match is made.
Adding a new mapping entry
To add a new mapping entry, scroll to the end of the page and select Add field:
A new row is added to the list, ready for you to complete:
Update each element for the mapping, then click the Update button at the bottom of the page to apply changes.
Deleting an existing mapping entry
To delete an existing mapping entry, click the minus symbol associated with the row to be removed - for example:
The row is removed immediately - click the Update button at the bottom of the page to apply changes.


