
Service filters
Introduction
Service filters are used to build rules which determine what data is pulled from the source system for processing. For example:

Each filter row is based on a field associated with the data entity being synced by this service. When multiple filter rules (i.e. rows) are added, the relationship between them is 'and' - so an entity is only synchronised if it satisfies ALL defined filter rows.
Taking the example above where the service is set to synchronise fulfilments, a fulfilment will only be synchronised if it was updated in the last ten minutes and its status is set to 'open'.
Filter elements
Each filter is added as a row comprised of four elements:
Field
Choose which system-related field to use as the basis of the filter. Available fields vary, depending on which system is defined as the source connector.
Type
Indicates the type of field being used for the filter. Auto-populated from the selected field.
Operator
Choose the required relationship between the selected field and value, for a match to be made.
Value
Enter the required value to be met/matched. Time period values can be specified as seconds, minutes, hours, days, weeks or years.
Defining time period filters
A common scenario for filters is to process records created/modified in the last x minutes/hours/days, or within a given timeframe. Typically (though not necessarily) we are working with events that have occurred in the past.
Different systems (NetSuite, Shopify, etc.) have different filter fields to achieve this, but a common technique is to define the required number of minutes/hours/days, working back from 'now'.
Example 1
Let's say that we only want to process all orders which were created in the last 2 hours. In the Patchworks dashboard, our filters would look something like the example below (field names vary by system but generally, most systems have a variation of 'date created' and 'date modified'):

We can visualise this as below:

Example 2
Let's say that we only want to process all orders which are between 1 and 2 hours old. In the Patchworks dashboard, our filters would look something like the example below (though field names will vary by system):

We can visualise this as below:

Adding a filter
To add a new filter, follow the steps below:
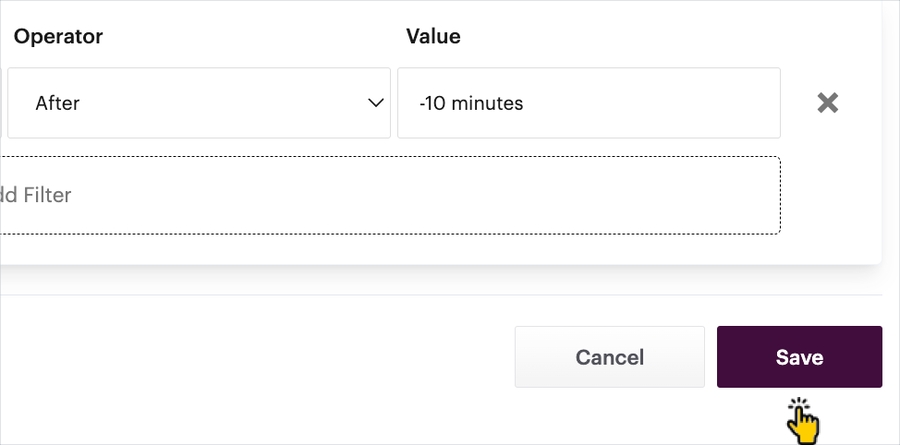
Step 1 Click the add filter button:

Step 2 A new filter row is added for you to update as required:

Step 3
Set required conditions and save changes:
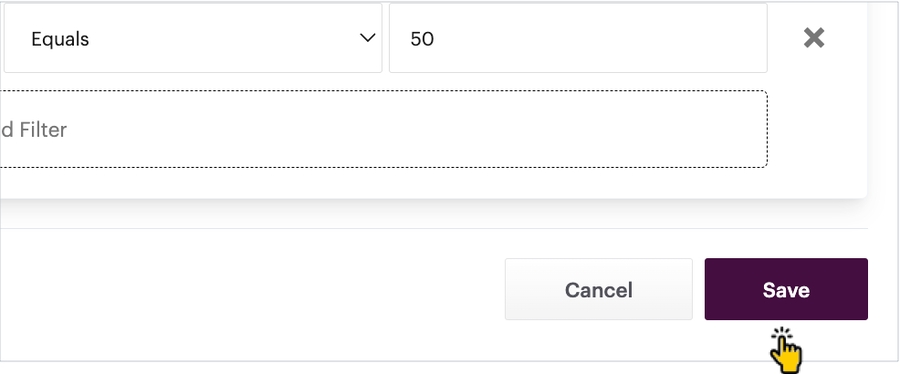
Updating a filter
You can change any element of an existing filter, as needed - just make new selections or enter new values as required, then save changes:

Removing a filter
To remove an existing filter, simply click the associated cross at the end of the row - for example:

...then save your changes:
Known limitations
Custom fields
It is not possible to define filters based on custom fields.