In Patchworks, you can add live and test connectors using our intuitive connector wizard. Before adding a new connector, you will need:
System credentials for your live/production environment (if you are adding a live connector)
System credentials for your sandbox environment (if you are adding a test connector)
To have completed any prerequisite steps specified by your system provider (for example, some systems require specific steps in their admin console to allow access by third-party systems.
You can have one testing connector and one live connector per system (for example, Shopify), per company group. If you require multiple live connectors for the same system (for example, you might have three Shopify stores for three different countries) you should ensure that company groups are added to your company profile.
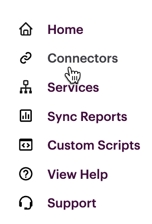
Step 1 Select connectors from the left-hand navigation menu:
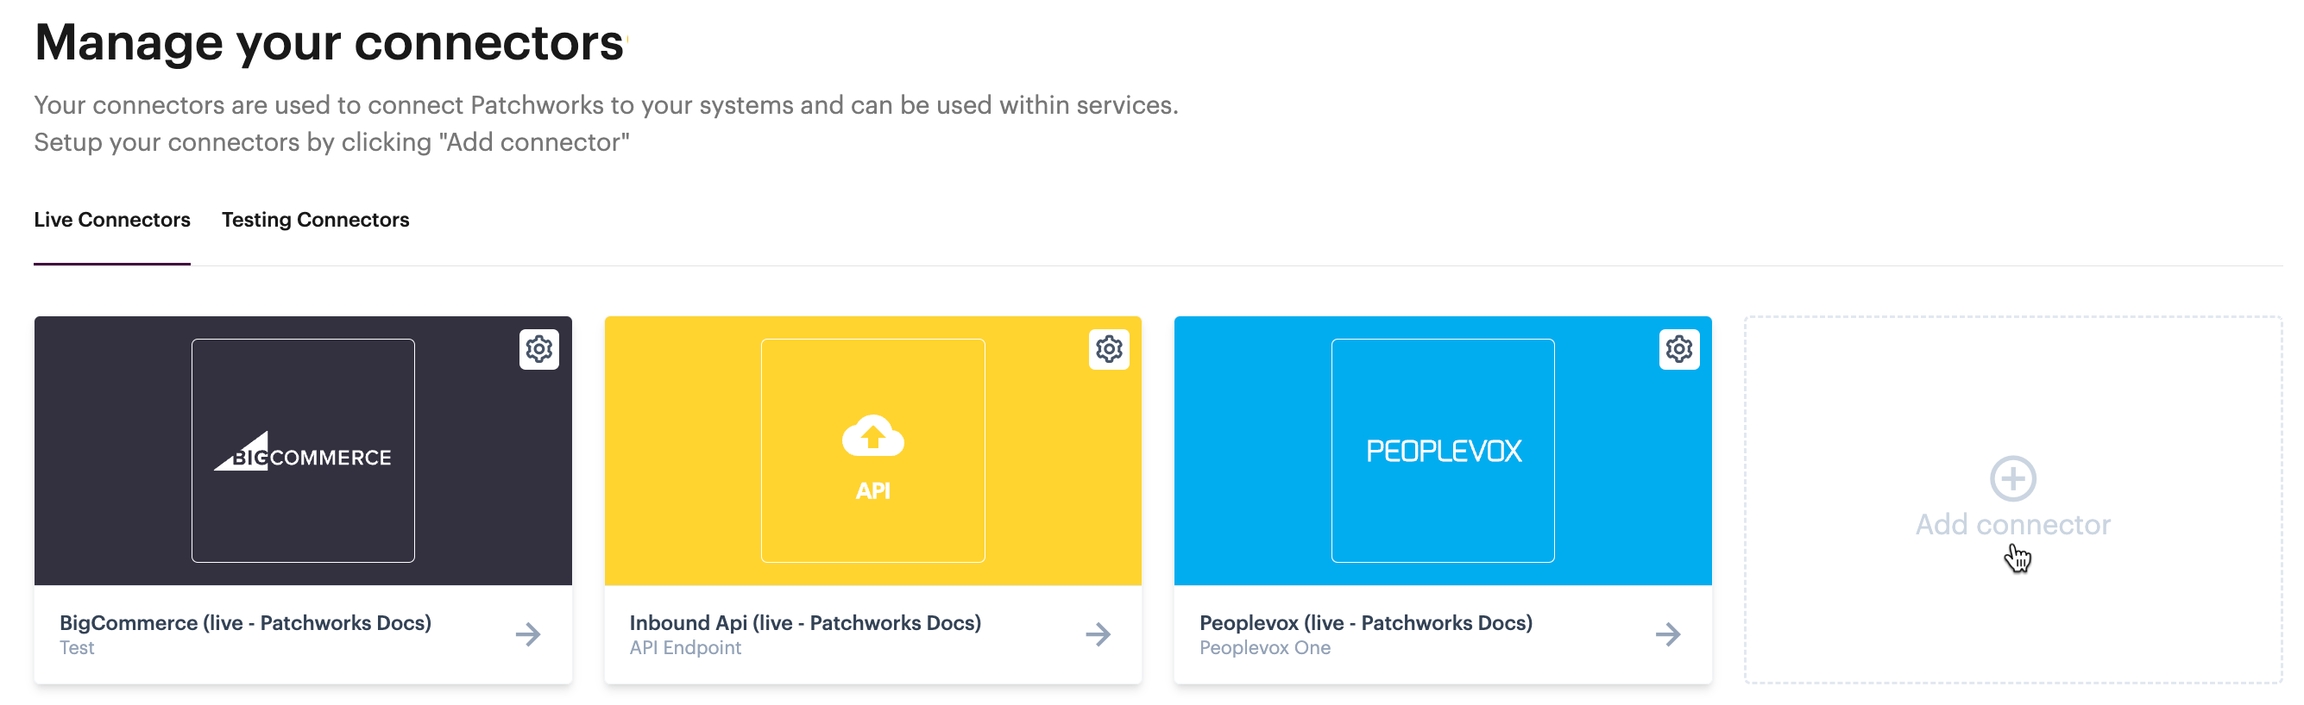
...the manage your connectors page is displayed:
Step 2 Click the add connector tile:
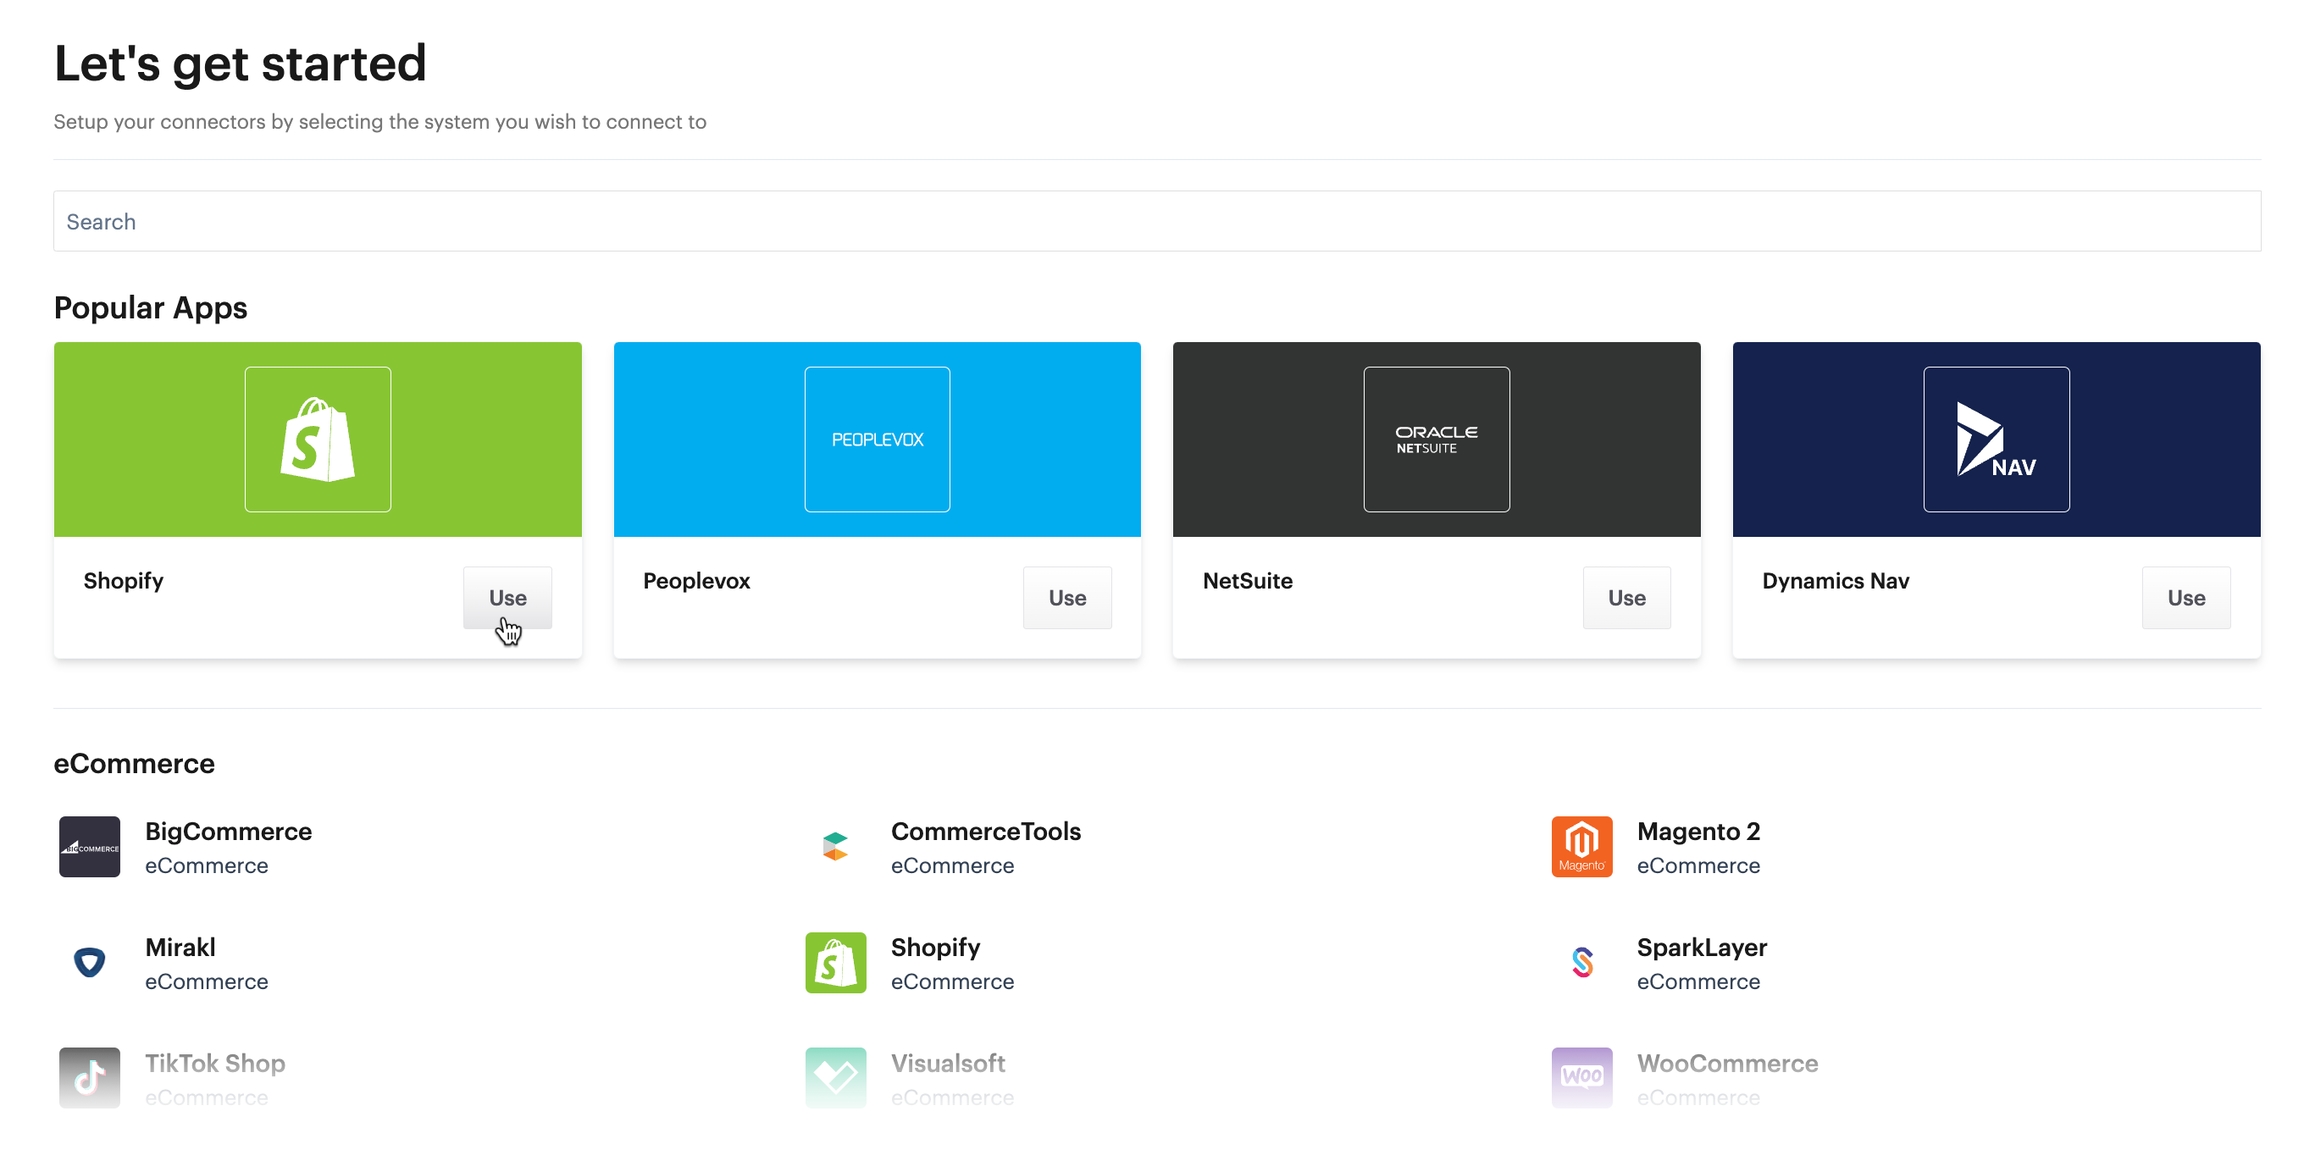
Step 3 Select the system that you'd like to associate with this new connector
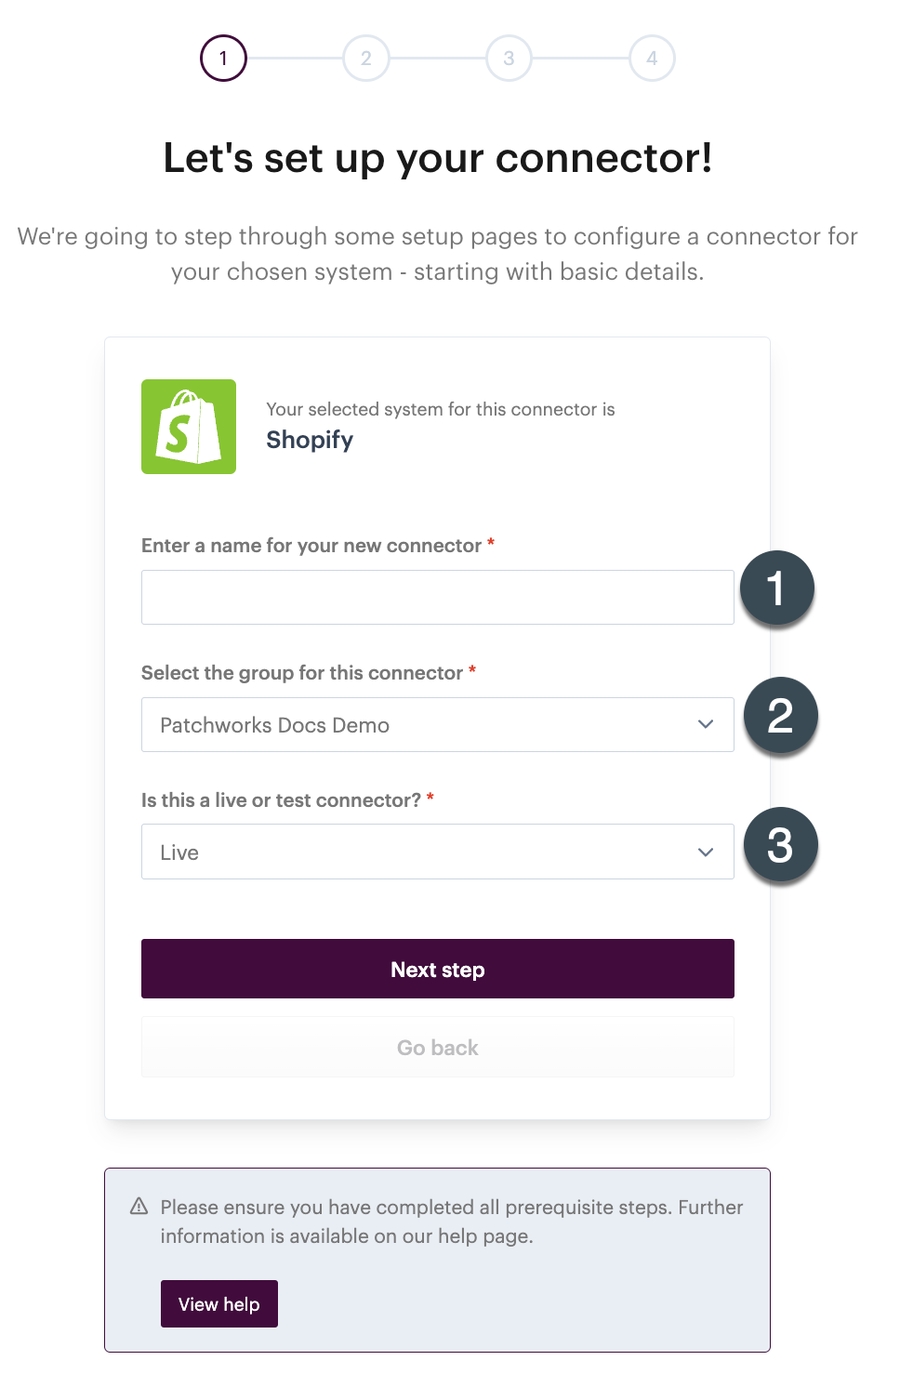
Step 4 The connector wizard is launched - this will walk you through all setup needed to create the connector:
On this first page, add general details as summarised below:
Enter a name by which this connector should be identified throughout the system.
Use this dropdown list to choose whether this connector is for a test system, or live.
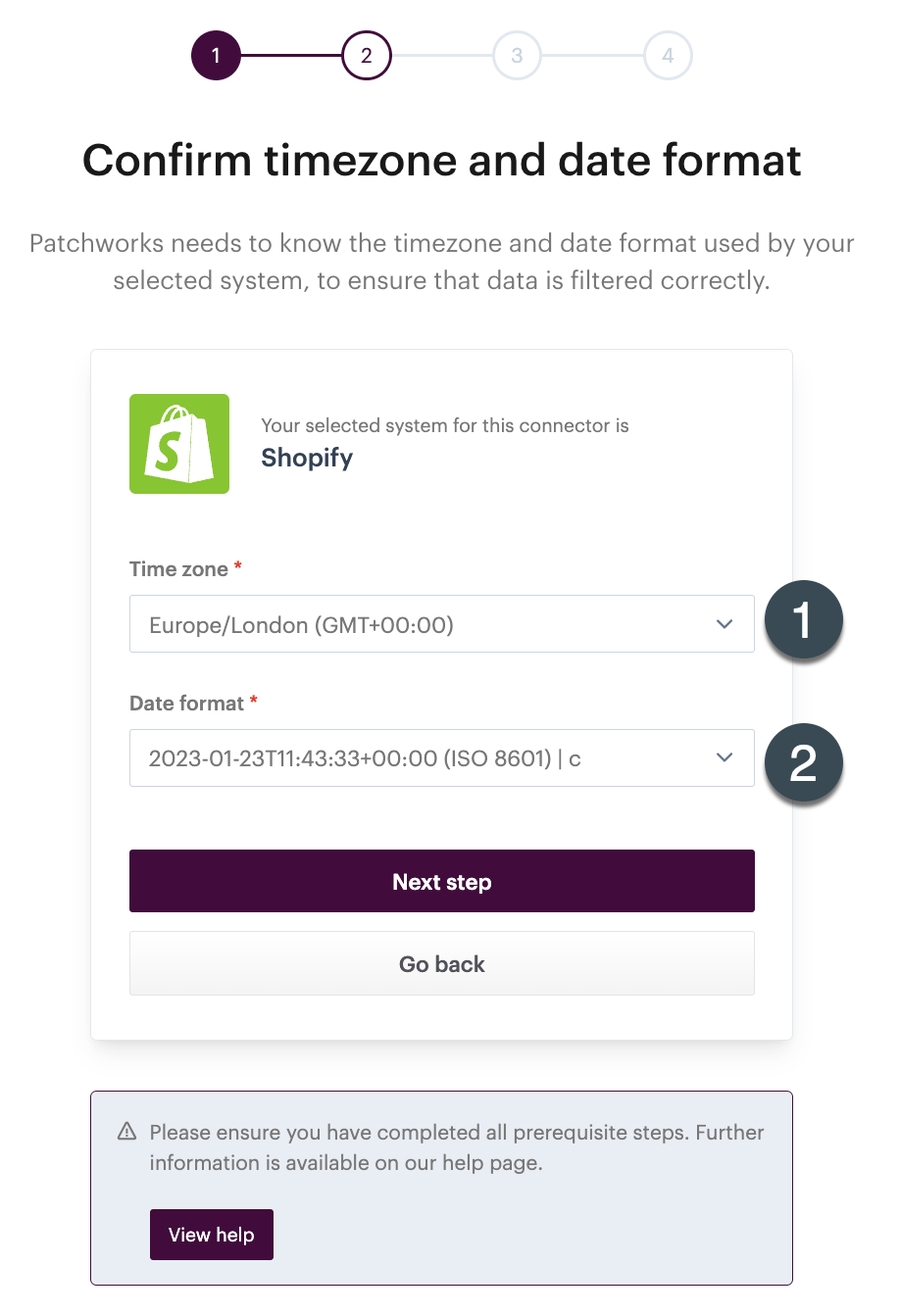
Step 5 Click the next step button to continue to timezone and date format settings:
Complete details on this page using the table below as a guide:
Use this dropdown list to choose the timezone in which you expect this connector to run.
Each time data is synced in Patchworks, dates are converted to UTC so that all transaction times are consistent for reporting purposes. The default setting here will be correct for typical systems - you only need to change this field if you know that your system is an edge case.
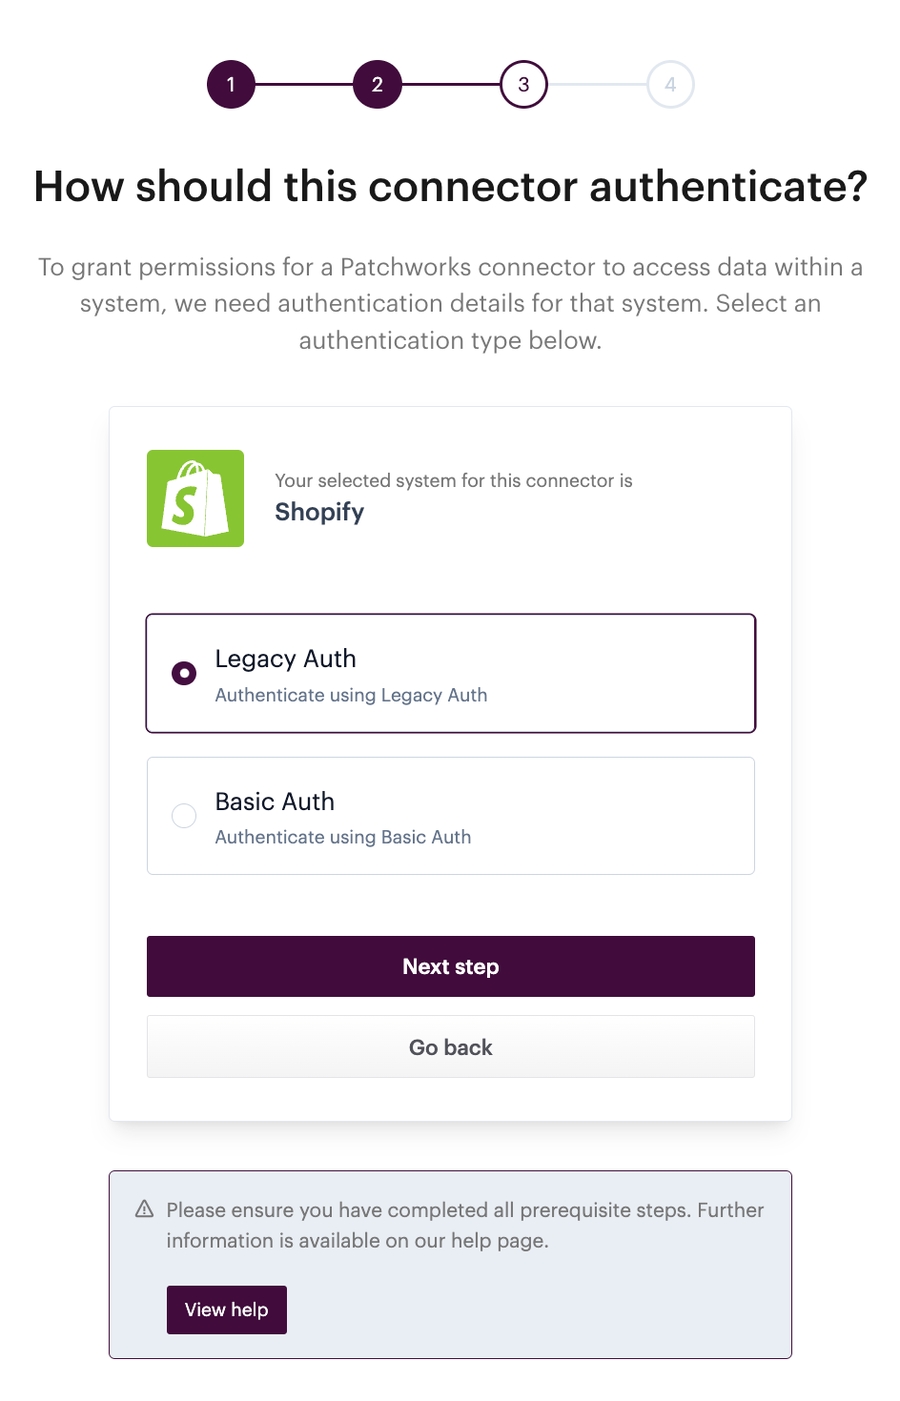
Step 6 Click the next step button to continue to authentication type options - for example:
Authentication types vary from one system to another - in some cases, only one type is available, in others there will be multiple options.
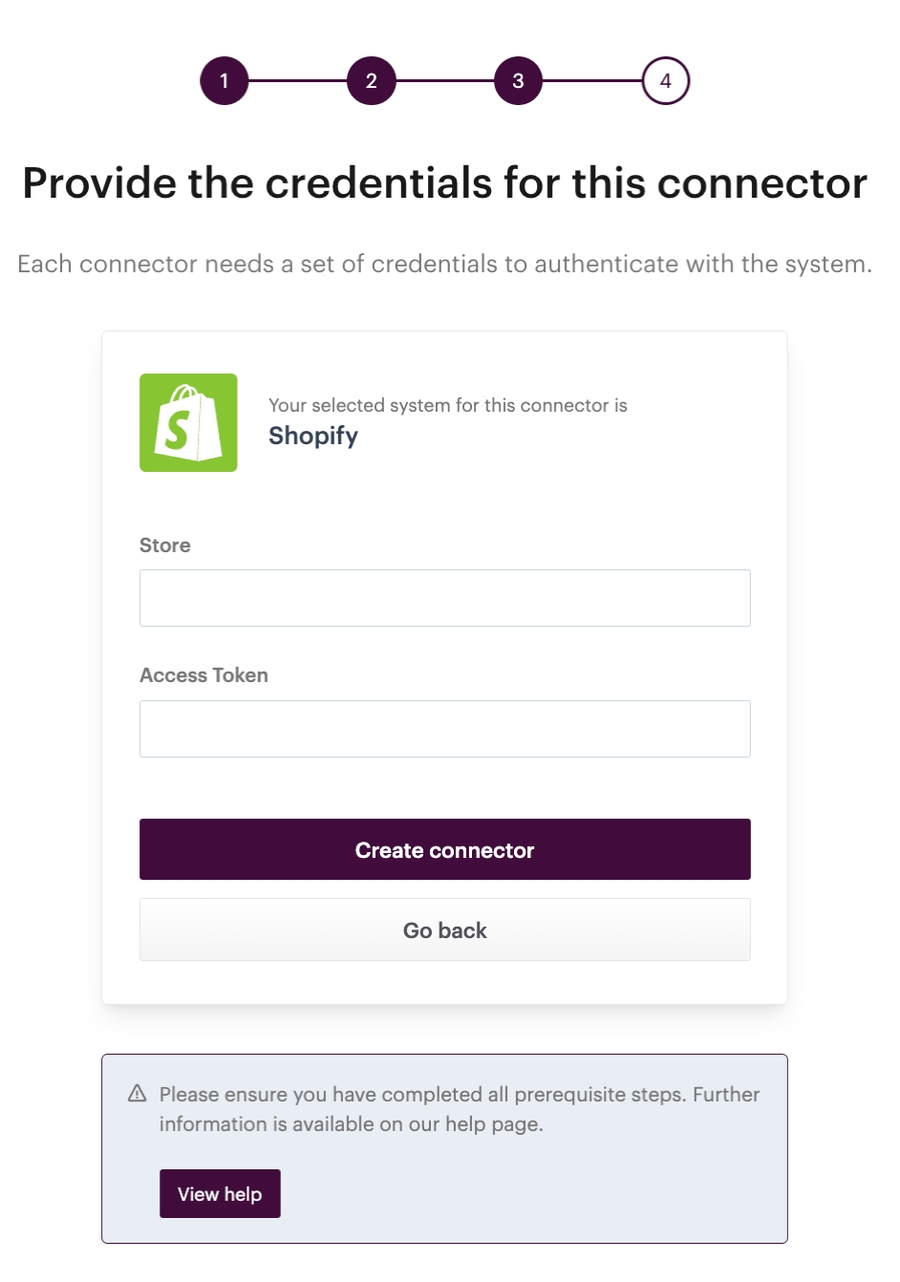
Step 7 Click the next step button to continue to credentials settings:
Required credentials will vary, depending on which system and authentication type you selected.
Credentials can be case-sensitive. Add them in the same case as they were given/displayed to you originally.
Step 8 Click the create connector button to confirm details and add this connector.
By default, the live connectors tab is displayed and you'll see any existing connectors that you've defined for live system environments. If you also have connectors defined for testing, you can access these via a testing tab - for example:
If your company is set up in Patchworks with multiple , use this dropdown list to choose which group this connector is for. You can only have one live and one test connector per system, per . If you require multiple live connectors for the same system (for example, you might have three Shopify stores for three different countries) you should ensure that are added to your company profile.