This page contains information that may be useful when you're adding or updating field mappings for a service.
Step 1 Access the services list and select the required service to view options and information:
Please see accessing services if you're not sure how to get to this point.
Step 2 Select the mapping tab:
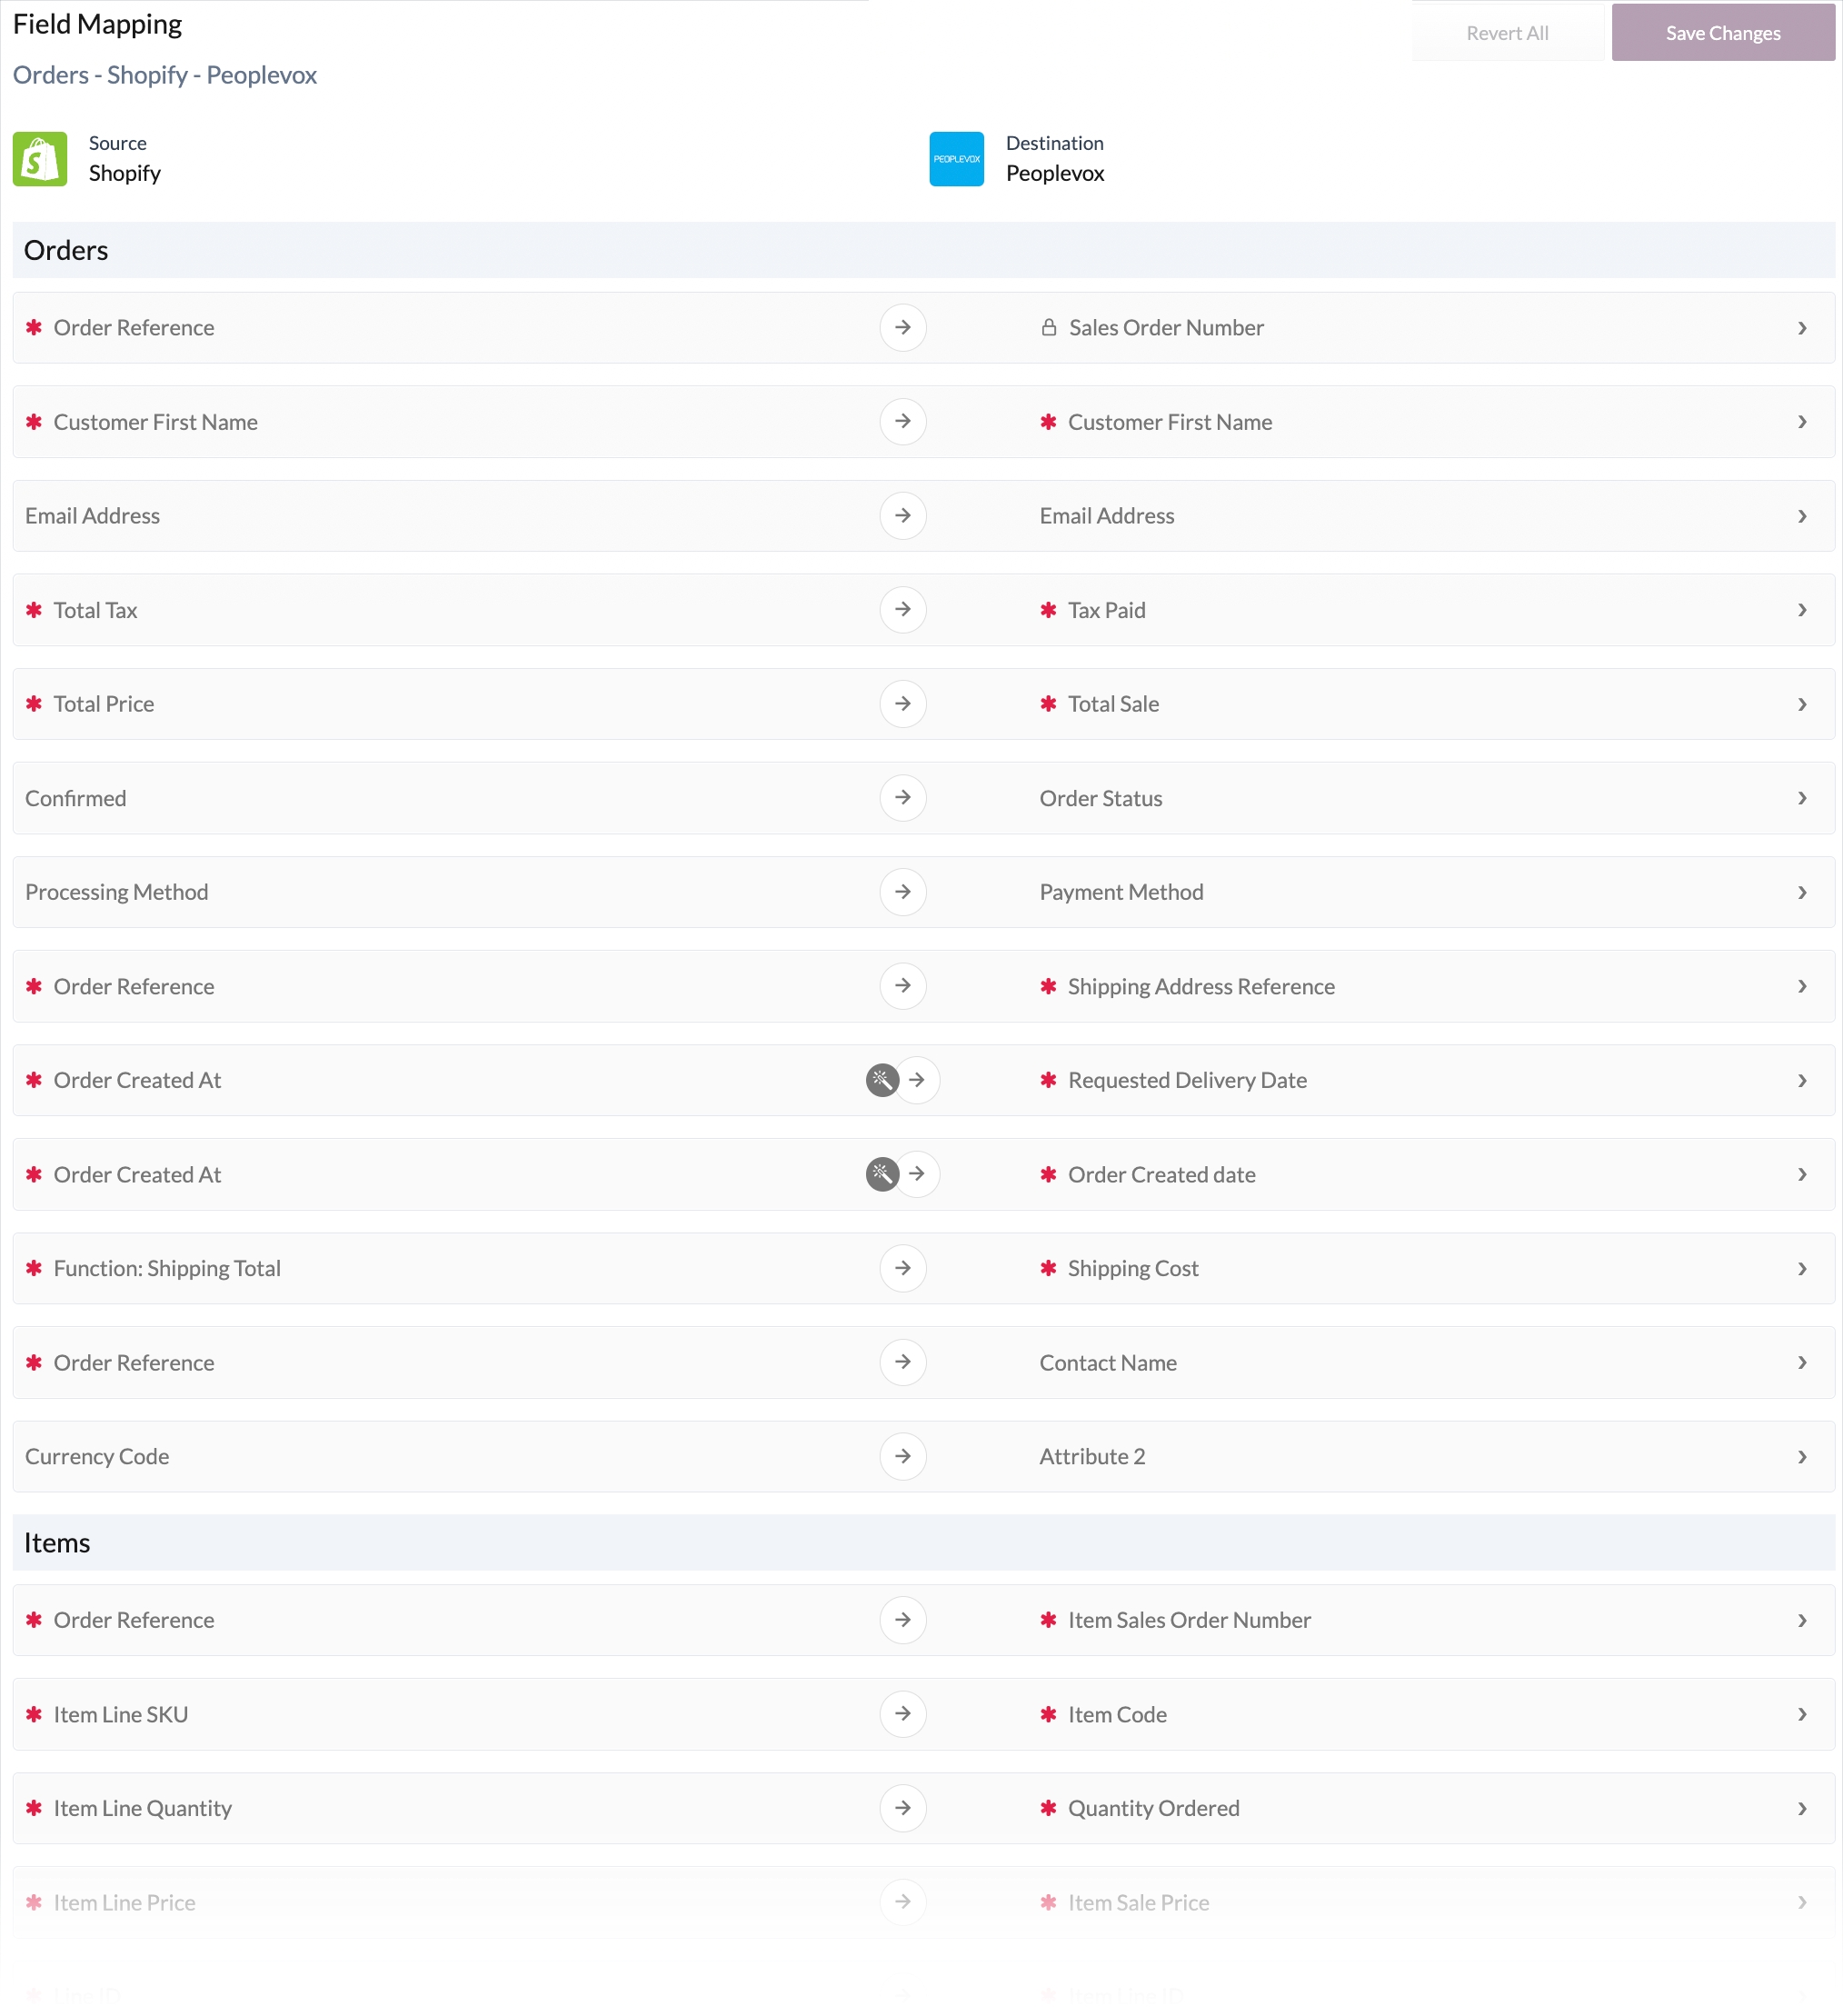
Step 3 The field mapping page is displayed with mappings organised in logical categories, based on the destination connector:
If no mappings are displayed when you access this page, don't panic! Please see How to handle an empty mapping page for guidance on what to do in this situation.
To view details for a mapping entry, click anywhere in a row to expand details:
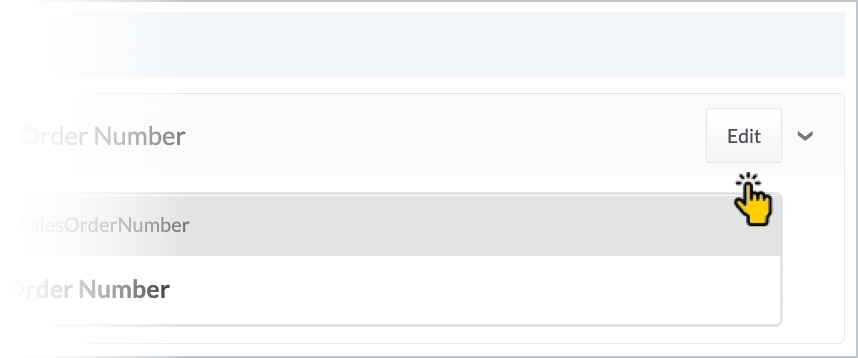
To edit mapping details for an entry, click the edit button in detail view:
...the mapping is opened in edit mode and you can make changes as required:
If a mapping row is marked with a red star, it means that at least one-half of the mapping is locked for editing because the values are expected by Patchworks.
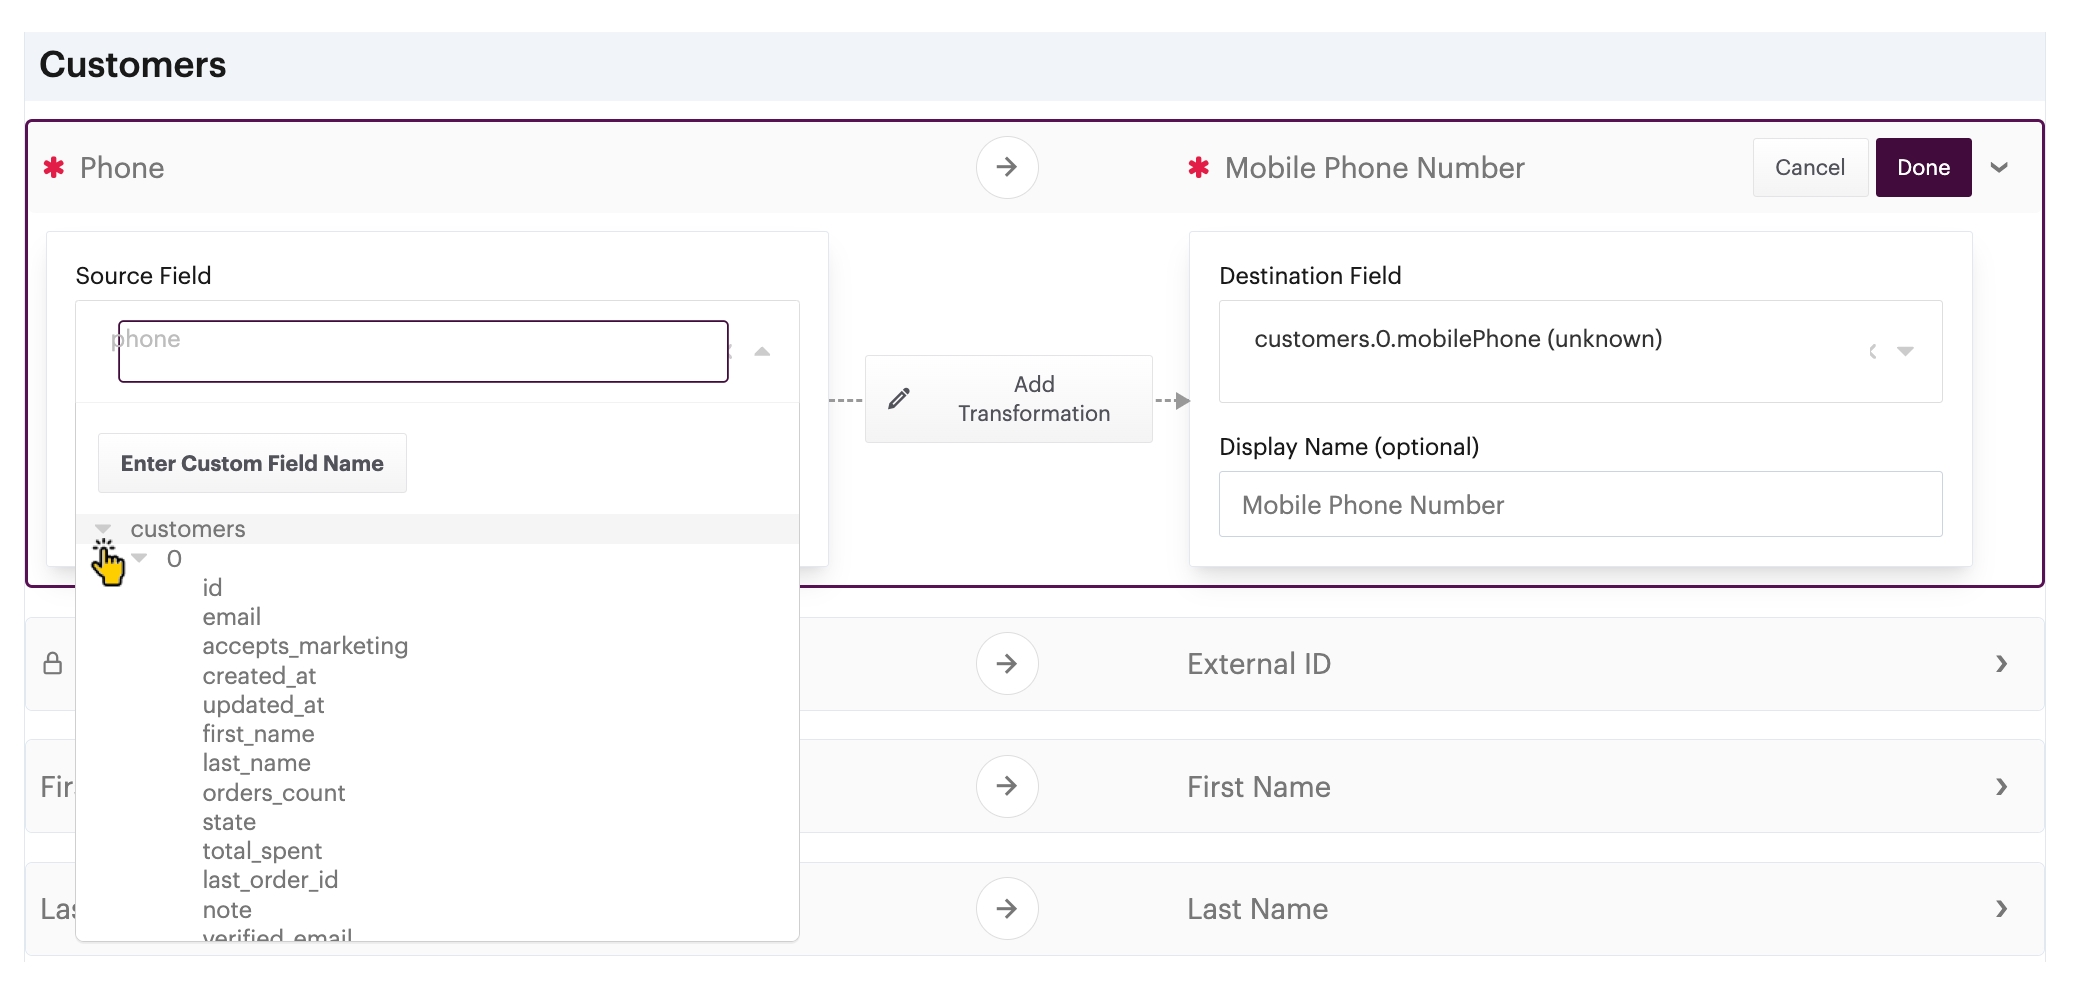
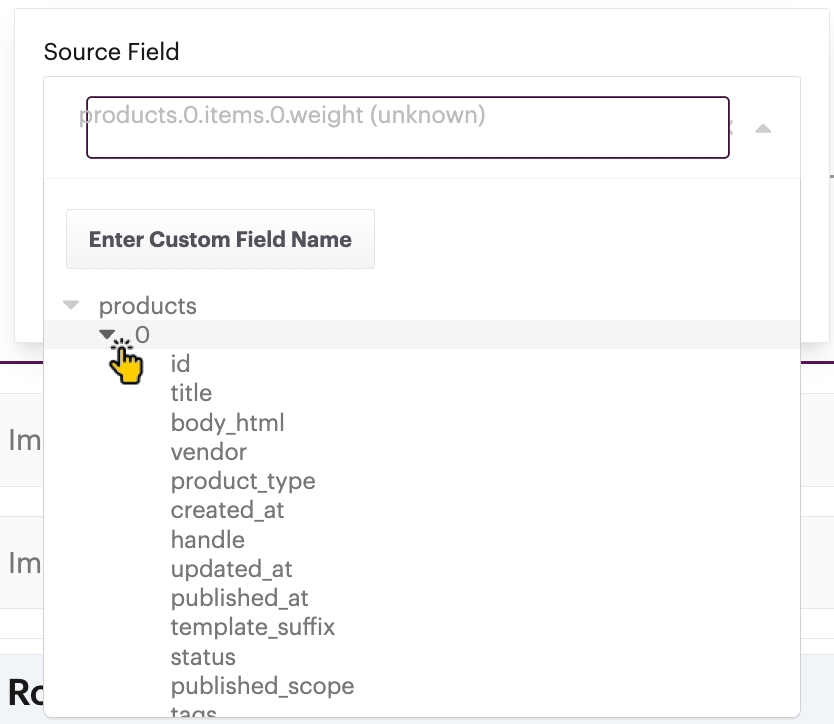
When a service is added, a set of default mappings is created which, as noted above, can be edited if required. Clicking the source or destination for an existing mapping lists all standard fields from the system schema - for example:
If needed, you can use the enter custom field button to map a non-standard field. This is particularly useful if you've created custom fields in a system (for example, Netsuite) which need to be synced.
When you click this button, the field becomes active and you can enter the required value - click anywhere outside the field to confirm your change.
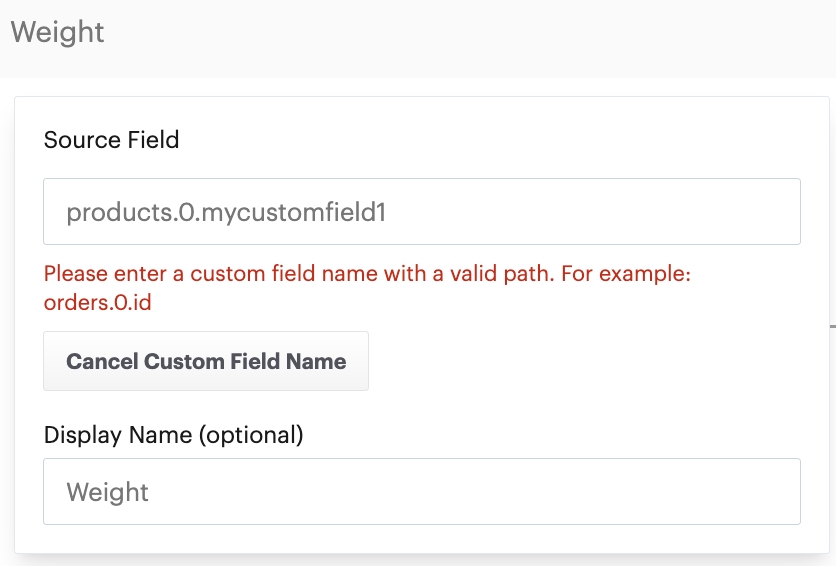
It's important to note that custom field values must adhere to the top-level schema path for the associated system - typically this will be orders.0, products.0, customers.0, etc. For example:
To check the expected top-level path, click in the source or destination field to see the list of standard fields, as shown in our example above (where the top-level path is customers.0). For example:
Ensure that the full path for a custom field is specified correctly. Patchworks checks and validates the top-level path, but subsequent nesting cannot be validated.
If you are working with Netsuite custom fields, please see our Working with Netsuite custom fields page for specific guidance.
If you need to map the same source field to multiple destinations, there are two options:
If you have the advanced editor user role, use the advanced editor to define required mappings.
Contact Patchworks support to complete the required mappings on your behalf.
When syncing data with Patchworks services, the same field cannot be mapped twice via the self-serve UI.
To remove a mapping entry, click the trash icon in detail view:
This option is not available for mapping entries marked with a red star (i.e. entries which are required by Patchworks).
Having made all required updates, click the save changes button at the bottom of the page.
For more information please see:
Custom scripting
...click the done button to confirm changes:
In this example, the top-level path for a custom field would be products.0.
