> For the complete documentation index, see [llms.txt](https://doc.wearepatchworks.com/product-documentation/llms.txt). Markdown versions of documentation pages are available by appending `.md` to page URLs; this page is available as [Markdown](https://doc.wearepatchworks.com/product-documentation/connectors-and-instances/patchworks-connectors/emarsys-prebuilt-connector/emarsys-pre-request-script.md).
# Emarsys pre request script
## Introduction
Having [installed the Emarsys connector](/product-documentation/connectors-and-instances/working-with-connectors/installing-a-connector.md), some setup is required before it can be used. You must:
* [Stage 1: Create a pre-request script](#stage-1-creating-a-pre-request-script)
* [Stage 2: Apply the pre-request script to your Emarsys connector](#stage-2-applying-the-pre-request-script)
Once this setup is complete, you can [add instances](/product-documentation/connectors-and-instances/working-with-instances/adding-an-instance.md) for use in [process flows](/product-documentation/process-flows/building-process-flows.md).
## Stage 1: Creating a pre-request script
A pre-request script is required to generate an authentication token from username and password credentials. Follow the steps below to create this script.
**Step 1**\
From the Patchworks dashboard, select **scripts** from the left-hand navigation menu.
**Step 2**\
Click the **create script** button:
**Step 3**\
In the **name** field, type the following:
```
Emarsys Pre-Request Script
```
**Step 4**\
In the **description** field, type the following:
```
Generate token
```
**Step 5**\
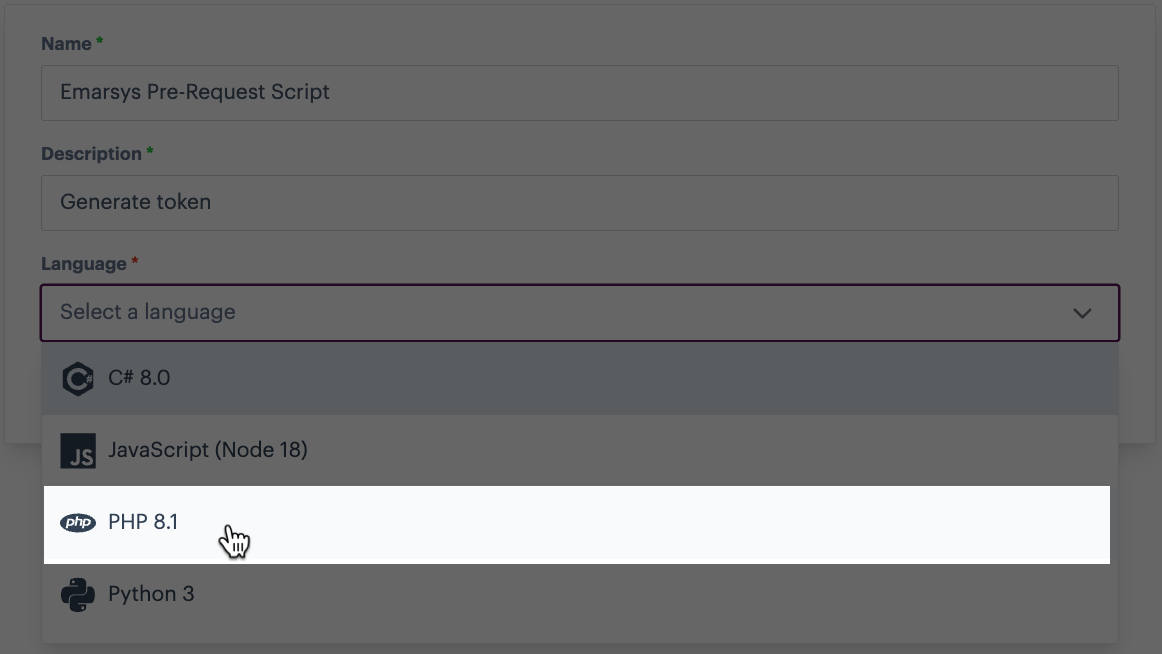
Click in the **language** field and select **PHP 8.1**:
**Step 6**\
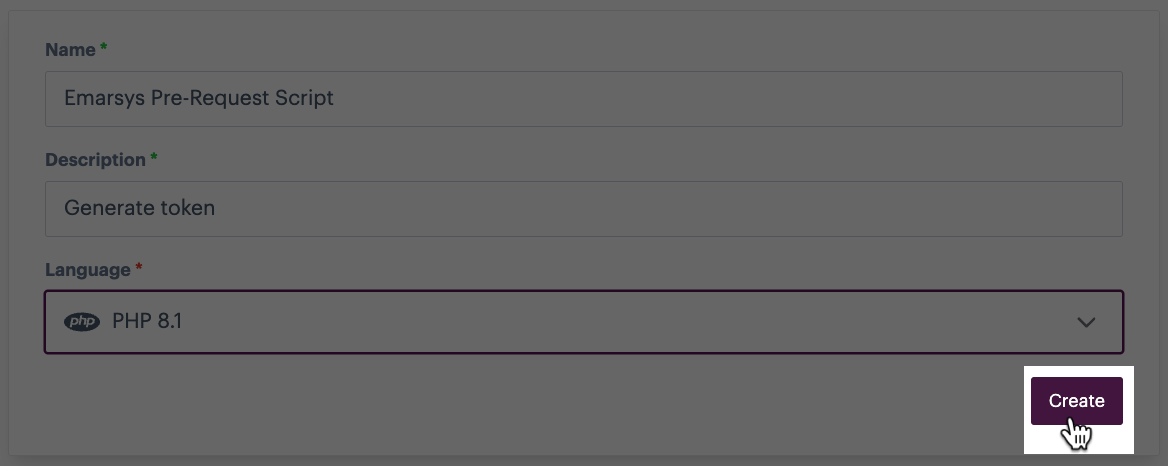
Click the **create** button:
**Step 7**\
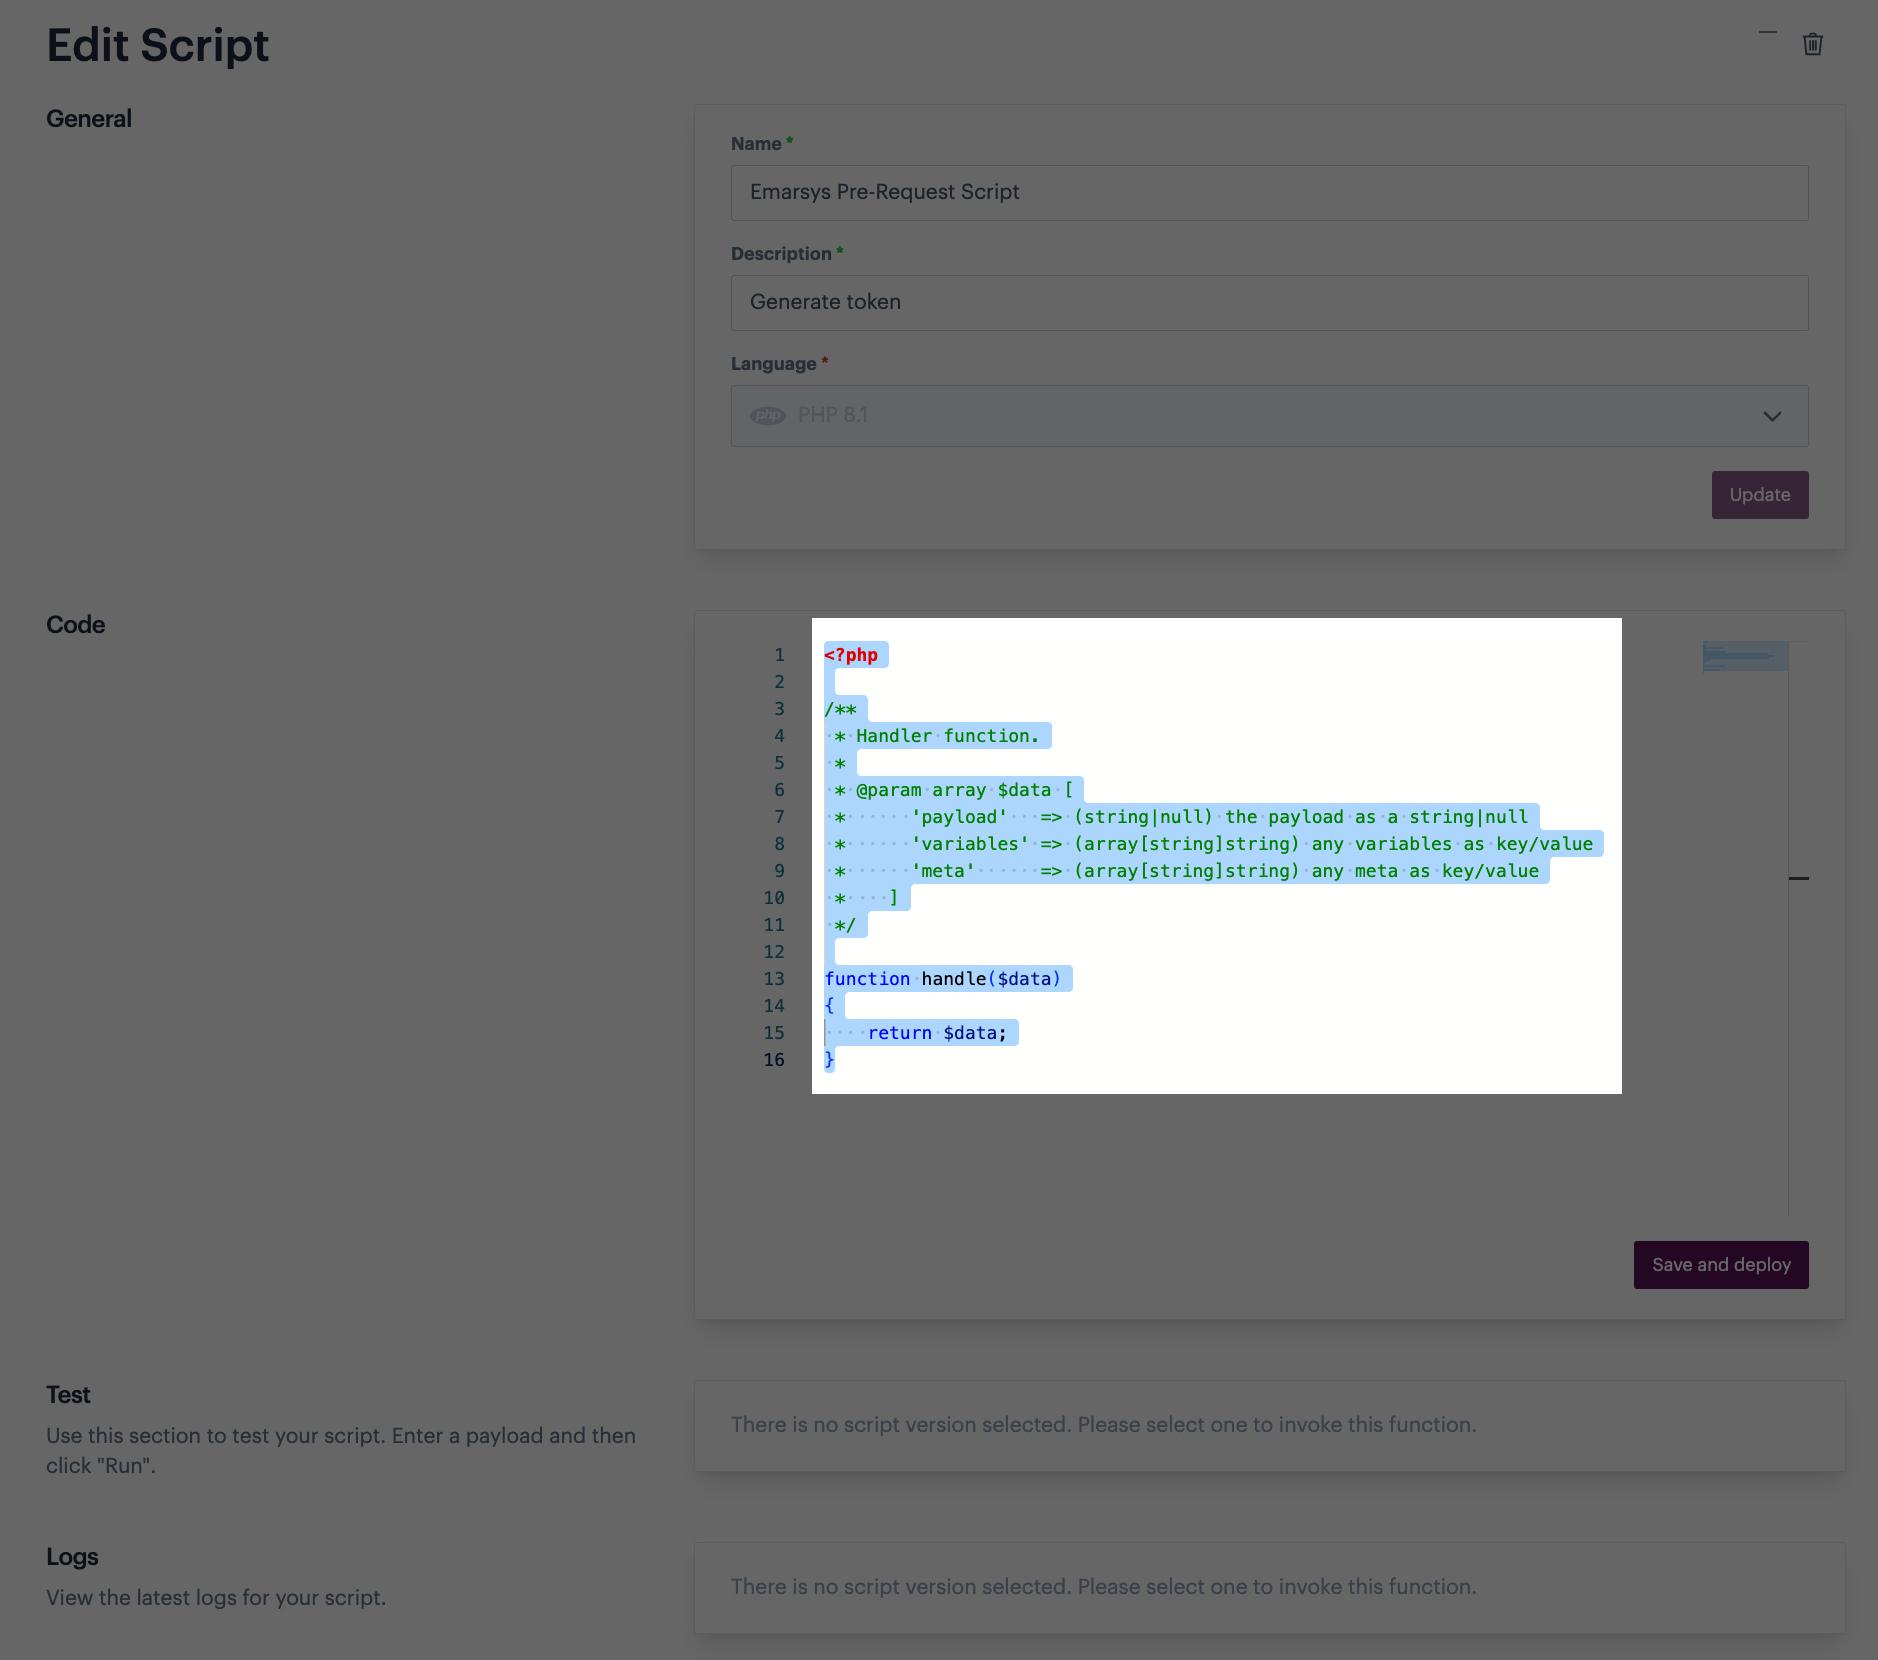
The script is created and opened in edit mode - select and remove any placeholder code:
**Step 8**\
Paste in the code below.
Pre-request script code
{% code lineNumbers="true" %}
```php
**Step 9**\
Click the **save and deploy** button:
**Step 10**\
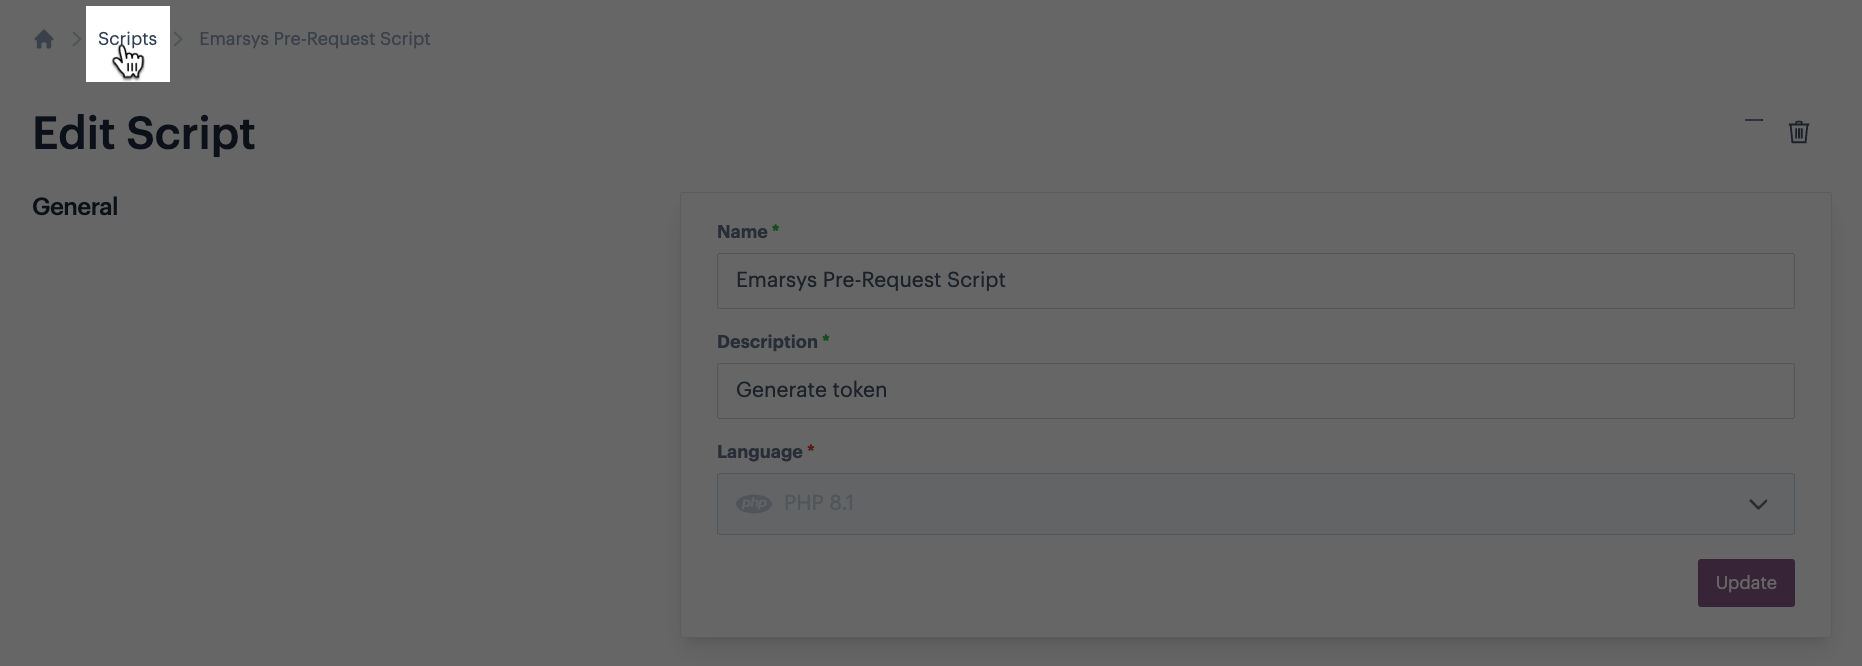
Click the **scripts** element of the breadcrumb trail to exit back to your list of scripts and go to the next stage:
## Stage 2: Applying the pre-request script
**Step 1**\
From the Patchworks dashboard, select **connectors and instances** from the left-hand navigation menu to access your installed connectors.
**Step 2**\
Find your Emarsys connector and click the **settings** icon:
**Step 3**\
Click the **authentication** option:
**Step 4**\
Select the **token** authentication method.
**Step 5**\
Select the **pre-request script** tab:
**Step 6**\
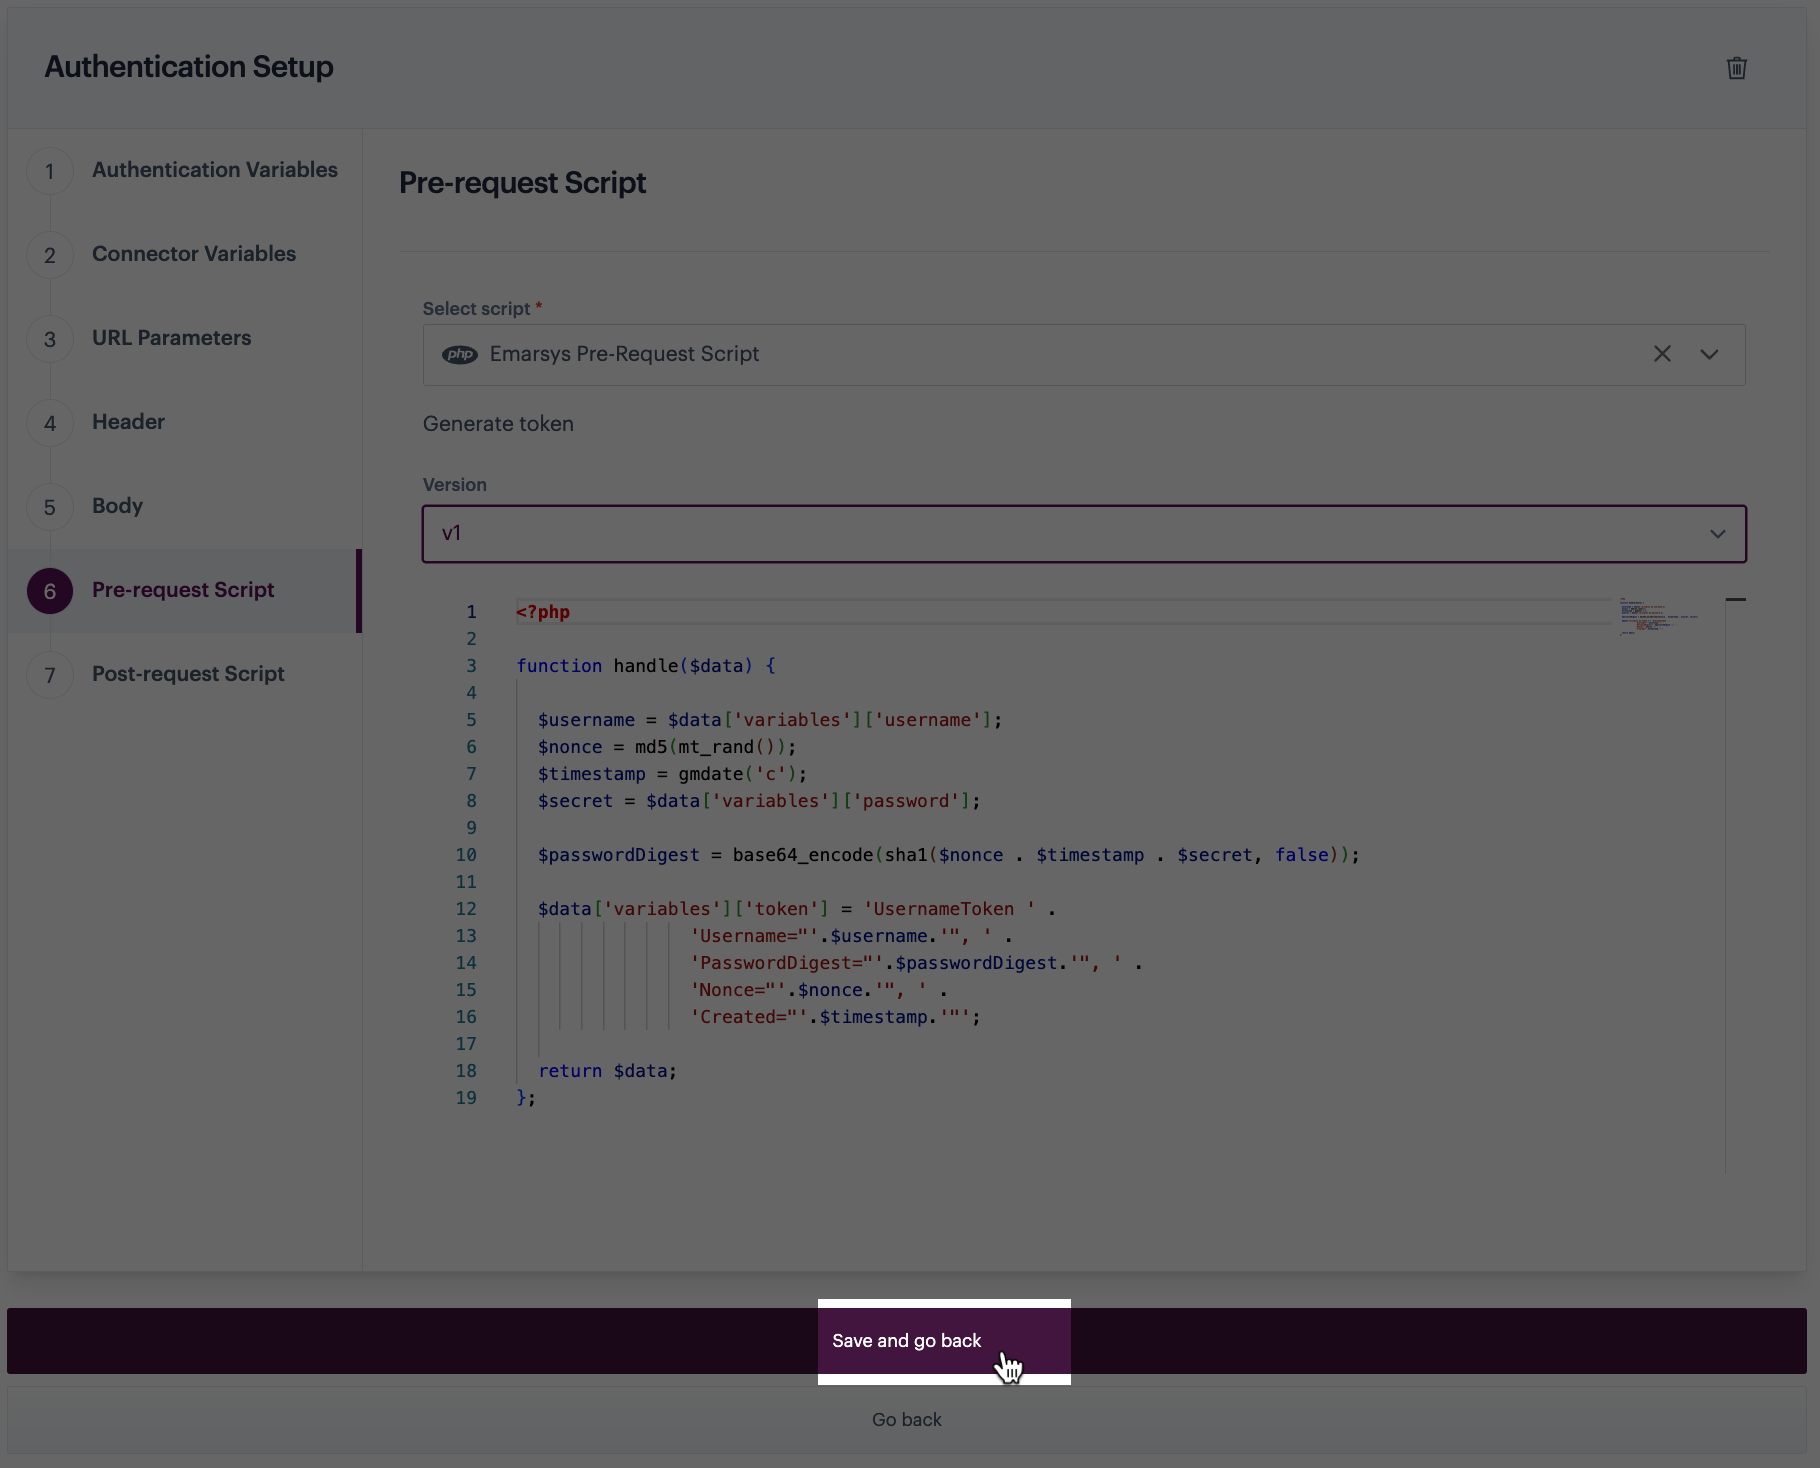
Click in the **select script** field and select your **Emarsys Pre-Request Script**:
**Step 7**\
Select the latest version:
**Step 8**\
Save changes:
**Step 9**\
You can now [add instances ](/product-documentation/connectors-and-instances/working-with-instances/adding-an-instance.md)of this connector for use in [process flows](/product-documentation/process-flows/building-process-flows.md).

 Pre-request script code